Last updated November 18, 2026


Free written scope consultation - allowances, timeline, and change-order rules on paper before a single trade is scheduled
Driveway & Pavers Troubleshooting: Common Problems and How to Fix Them
A paver that rocks under your foot isn’t a paver problem. It’s a base problem. Reset that single unit and the same wobble returns within eighteen months. In our experience across Orange driveways, four failures account for nearly every call we get: base settlement, edge restraint pull-out, joint sand erosion, and sealed-in moisture. Each one has a fix that runs under $400 when it’s caught early and climbs into the thousands once it survives a second rainy season. This guide shows you how to read the symptom, find the actual cause, and decide what to fix yourself and what needs a crew with real compaction equipment.
Quick Answer
Most driveway paver problems come from four root causes: a failed base layer, an edge restraint that’s pulled loose, joint sand that has washed or deteriorated, or moisture sealed under the surface. Diagnose the true cause with a 4-foot level and a probe rod before spending money. Surface fixes last; base fixes need excavation and compaction.
Styles & brands we work with
- Kitchen remodeling
- Bathroom remodeling
- Home additions & ADU
- Roofing
- Windows & doors
- Driveway & pavers
- Fence
Table of Contents
- How to Diagnose a Paver Problem Before You Spend Money
- Base Failure vs. Surface Settlement: Telling Them Apart
- Edge Restraint Pull-Out: Bowing vs. Cracked Edges
- Joint Sand Erosion vs. Polymeric Sand Failure
- Efflorescence: The White Haze After Rain
- Sealed-In Moisture and Why It Traps Trouble
- When a DIY Relay Works and When It Doesn’t
- Orange-Specific Pavers Issues We See
How to Diagnose a Paver Problem Before You Spend Money
Before you touch a single paver, do two things that cost less than $30 combined. Buy a 4-foot spirit level and a thin probe rod (a piece of stiff wire or an old screwdriver works). These two tools separate a cosmetic issue from a structural one faster than any guess.
Lay the level across the suspect area in several directions and watch where the bubble sits. A paver that dips a quarter inch below its neighbors but has firm bedding underneath is surface settlement. A section that tilts as a group, with a hollow ring when you tap it, points to the base. That distinction decides everything that follows.
Now work the probe rod down beside a joint at the edge of the problem zone. Bedding sand over compacted base should feel firm and resist the rod after an inch or two. If the rod slides in easily for six or eight inches, you’ve found a void where water has been working under the pavement.
Walk the whole driveway and note every wobble, dip, and open joint on a sketch. A paver that moves when you step on it is the clearest evidence of all: the bedding under that unit is gone or the base has settled. In Orange, we see this most often on driveways installed over native soil that was never re-compacted after grading, and the diagnosis is the same no matter the address.
- 4-foot level: shows whether one paver or a whole panel tilts.
- Probe rod: reveals voids in the bedding and base below.
- Tap test: a hollow sound signals lost support.
- Sketch: maps the pattern so you treat causes, not isolated symptoms.
Base Failure vs. Surface Settlement: Telling Them Apart
Surface settlement means the paver or its bedding sand shifted; the compacted base beneath is still sound. Base failure means the compacted aggregate itself has settled, washed out, or was never deep enough. The first is a weekend job. The second is not.
Bedding sand should be a thin layer, roughly an inch, that levels the pavers onto the base. When that sand migrates into open joints or washes away, individual pavers drop. You’ll see one low unit surrounded by flat neighbors, and prying it up reveals clean, loose sand underneath with firm base below.
Base-layer failure looks different. The pavement moves in a wider pattern, several pavers tilt together, and the probe rod sinks deep. Common triggers are a base installed too shallow for the traffic it carries, water that never drained away, or organic soil left in place during the original install. For a driveway that sees vehicle loads, the compacted base needs real depth and proper compaction in lifts; a base poured in one deep pass without a plate compactor never reaches density. That’s why the failure shows up months or years later, not on day one.
When the base has failed, resetting the paver is wasted effort. The repair is to remove the affected field, excavate to sound material, rebuild the base in compacted lifts, and re-lay. That’s the point where a contractor’s compaction equipment earns its keep. If you’re weighing a full redo against a repair, our Driveway & Pavers in Orange page walks through what a rebuild involves.
Edge Restraint Pull-Out: Bowing vs. Cracked Edges
The edge restraint is the hidden hero of any paver driveway. It’s the aluminum or plastic lip, pinned or glued along the perimeter, that stops the field from spreading under load. When it lets go, pavers creep outward and joints open up. Two failure modes look similar but need different repairs.
Bowing edge
A bowing edge means the restraint has pulled its stakes and moved outward, even if it hasn’t snapped. You’ll see a gentle curve where the line should be straight, and the pavers behind it will look loose and gapped. This is a re-stake job: drive new stakes, re-set the restraint to plumb, and re-tighten the field against it. Catching it early keeps the repair to a section.
Cracked edge
A cracked edge means the restraint itself has fractured, usually from a vehicle tire rolling over an unsupported lip or from ground movement underneath. The fix is section replacement: cut out the broken length, set a new piece, and pin it properly. A crack that’s ignored lets pavers walk outward a little more each season.
On both, the tell is the same: open joints along the perimeter and pavers that shift when you push the edge. Under Clause 1 of the Haven Standard, we don’t quote a number until we’ve probed the edge and confirmed which failure it is, because a re-stake and a full section replacement are very different jobs.
Joint Sand Erosion vs. Polymeric Sand Failure
Joint sand is the material that locks pavers together and keeps weeds and water out. Two products fill those joints: plain washed sand and polymeric sand. Each fails for different reasons, and refilling one with the wrong product makes the problem worse.
Plain sand erodes. Rain, runoff, and wind sweep it out of the joints over time, especially on a slope or where water crosses the driveway. The tell is joints sitting shallow or empty, with grit collecting at the low corner. The fix is to sweep fresh sand into dry joints and compact it back down.
Polymeric sand hardens when wet, binding the joints into a semi-rigid surface. It fails when it’s applied over a wet joint, mixed too thin, or washed out before it cured. You’ll see it crumble into a sandy crust or peel away from the paver edge. Once polymeric sand has broken down, sweeping plain sand on top won’t rebuild the bond; the joints need to be cleaned out and re-filled with the correct product.
Here’s the trap: patching a failed polymeric joint with loose sand invites water in faster than either product would alone, and the weeds follow within a season. In Orange, where a dry summer gives way to winter rain, we see polymeric joints fail most on driveways with poor cross-slope, where water pools instead of draining. Match the product to the failure, not to what’s in the garage.
Efflorescence: The White Haze After Rain
Efflorescence is the chalky white film that blooms across pavers after rain or a good soak. It’s a mineral deposit, not mold and not a sign of structural damage. Salts inside the concrete pavers or the setting bed dissolve in water, migrate to the surface, and dry into a white crust. It’s a cosmetic issue that resolves with the right cleaning, and it says nothing about whether the driveway is sound.
Removing it takes two steps, in order:
- Dry-scrub first. Use a stiff brush on a dry day to lift loose efflorescence before any liquid touches it. Wetting loose salts just drives them back into the pores.
- Acid-wash second. Apply a diluted masonry cleaner (a mild muriatic or an efflorescence remover), following the label, work it in with a brush, let it dwell briefly, then rinse thoroughly. Never mix with bleach or another cleaner, and test a small hidden area first.
If the haze keeps coming back after each rainy season, it’s usually a sign that moisture is getting under the pavers and staying there, which loops back to drainage and joint condition. Persistent efflorescence, chronic wet joints, and open edges are worth a second look from someone who reads the whole system.
Sealed-In Moisture and Why It Traps Trouble
Sealer looks like protection. Applied at the wrong time or over a damp surface, it becomes a lid that traps moisture inside the pavement. Water that can’t escape from below keeps feeding the very problems you’re trying to stop: efflorescence, joint breakdown, and base softening.
The rule is simple: never seal a paver that’s wet or that’s holding moisture. A paver driveway needs to dry out completely, joints included, before sealer goes down. Sealing over trapped water causes a milky haze under the film, adhesion failure, and, in cold snaps, spalling at the surface as the water expands. If you’ve already sealed a damp driveway and see those signs, the correct fix is to strip the sealer and let the pavement breathe before re-applying.
Sealer also masks problems. A gleaming surface hides open joints and edge movement until they’ve grown. That’s why we inspect before we recommend sealing, and why we won’t hand over a written price for sealant until we know the moisture has gone. Photo documentation of the dry condition is part of what you get on every visit, not a paid extra.
When a DIY Relay Works and When It Doesn’t
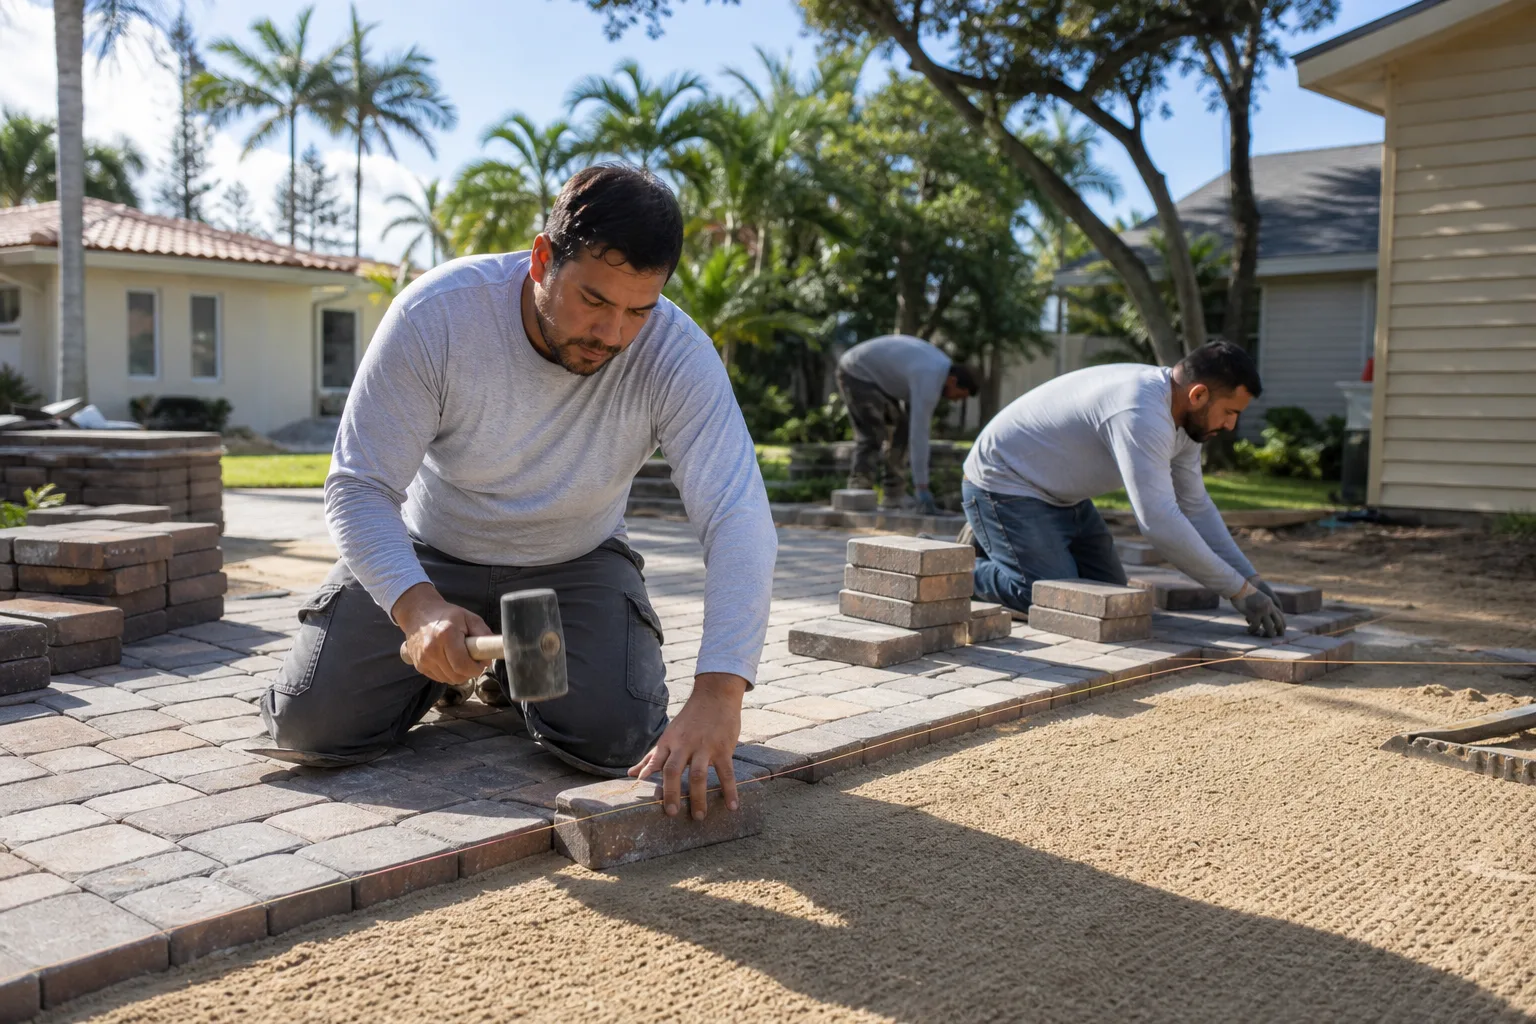
A DIY relay is appropriate only when the base underneath is intact. If your probe rod stopped firm, the bedding is the only thing that failed, and you can handle it:
- Lift the affected pavers and set them aside in order.
- Remove the old bedding sand and any debris down to the compacted base.
- Add fresh bedding sand, screed it level, and re-set the pavers.
- Compact the field with a hand tamper and refill joints with the matching sand.
That sequence fixes surface settlement. It does not fix a base that’s settled six inches, and it shouldn’t be attempted when:
- The probe rod sinks freely into a void.
- A whole panel moves together under load.
- The edge restraint has pulled or cracked.
- Standing water shows the grading can’t drain.
Undermined base depth is where DIY stops. Rebuilding a base to the depth a vehicle driveway needs, and compacting it in proper lifts, requires plate and jumping-jack compaction equipment a homeowner doesn’t own. Getting it wrong means the same failure returns. A written price before any work starts is the only way to compare a repair against a rebuild honestly, and a free second opinion on any written estimate lets you check the number line by line.
Orange-Specific Pavers Issues We See
Orange sits in a climate that swings between dry, hot summers and wet winters, and that swing shapes which paver problems show up and when. Driveways here take a lot of UV across July and August, then a concentrated stretch of rain from late fall into early spring. The ground expands slightly with the wet season and shrinks back as it dries, which quietly works on any weak edge restraint and any joint that’s already lost its sand.
We see two patterns again and again. First, polymeric joints fail on driveways with an inadequate cross-slope, where water pools along the apron instead of running to the street; the ponding breaks the joint bond faster than rain alone ever would. Second, edge restraint pull-out clusters near driveways with heavy afternoon sun exposure, where the aluminum or plastic has expanded and contracted against stakes that were never set deep enough.
Older neighborhoods in Orange with original driveways built over native soil, rather than over a properly compacted base, are the ones where we confirm base failure rather than surface settlement. A 4-foot level across those shows a broad tilt, not a single dip, and the probe rod tells the rest of the story. If your driveway abuts a fence that’s leaning along the same line, the ground movement may be affecting both; our Fence Installation in Orange page covers how we check shared foundations. And when a driveway rebuild is part of a larger plan, an addition with a matching hardscape often makes sense, which our Home Additions & ADU in Orange page explains.
Common Mistakes to Avoid
- Resetting a rocking paver without checking the base. The wobble returns in about eighteen months because the cause was never the paver. Probe the base first, every time.
- Filling failed polymeric joints with plain sand. It looks fixed for a season, then water and weeds move back in faster. Match the product to the failure.
- Sealing a damp driveway. Trapped moisture causes a milky haze, peeling, and spalling. The surface has to be bone dry before sealer goes down.
- Ignoring a bowing or cracked edge. The field spreads outward, joints open, and a small re-stake becomes a full section replacement. Fix the edge before the field moves.
- Acid-washing efflorescence while it’s loose and dry. You’ll just drive the salts back in. Scrub dry first, then wash.
- Assuming a white haze means damage. Efflorescence is cosmetic and fixable. The real signal to watch is chronic wet joints and a moving edge.
- Rebuilding a base without proper compaction. A base poured thick in one pass never reaches density, and the failure surfaces a season later. This is where real equipment matters.
See the difference
 Before
 After
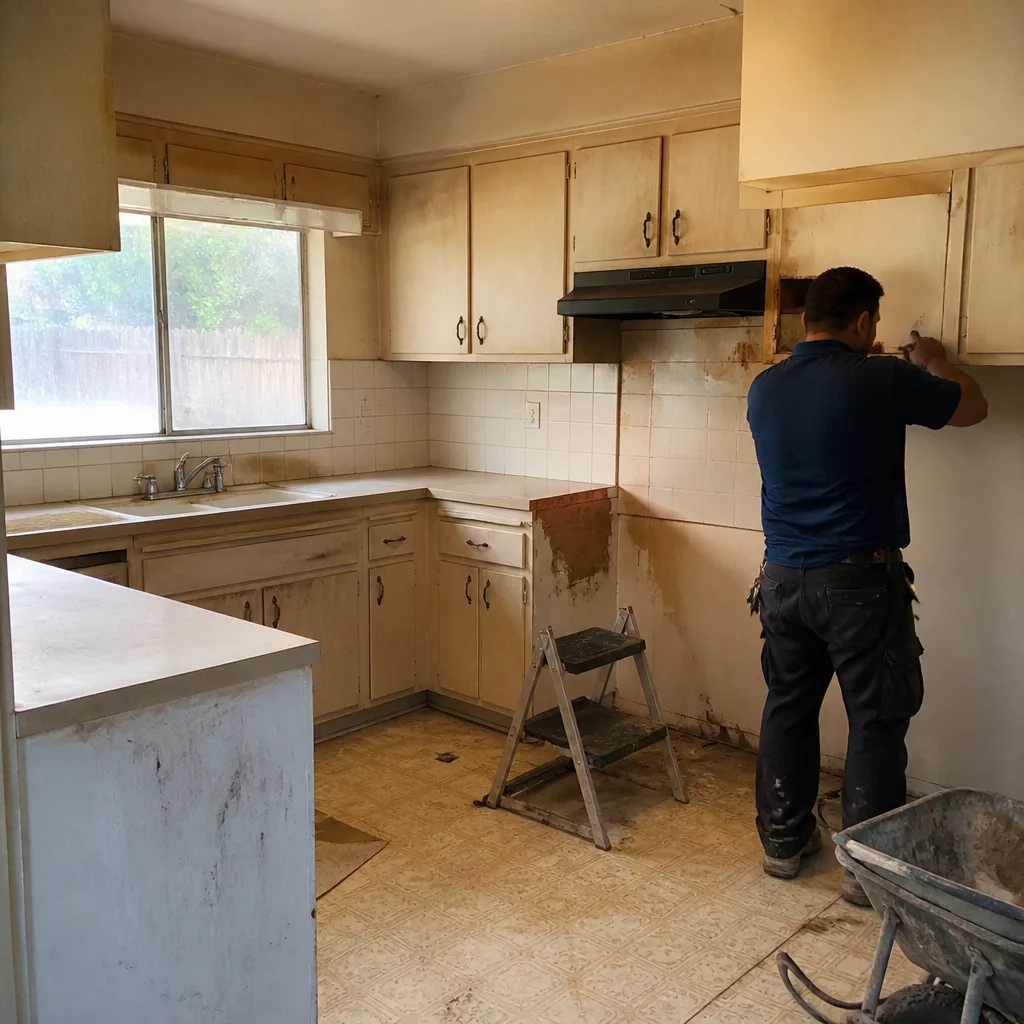 Before
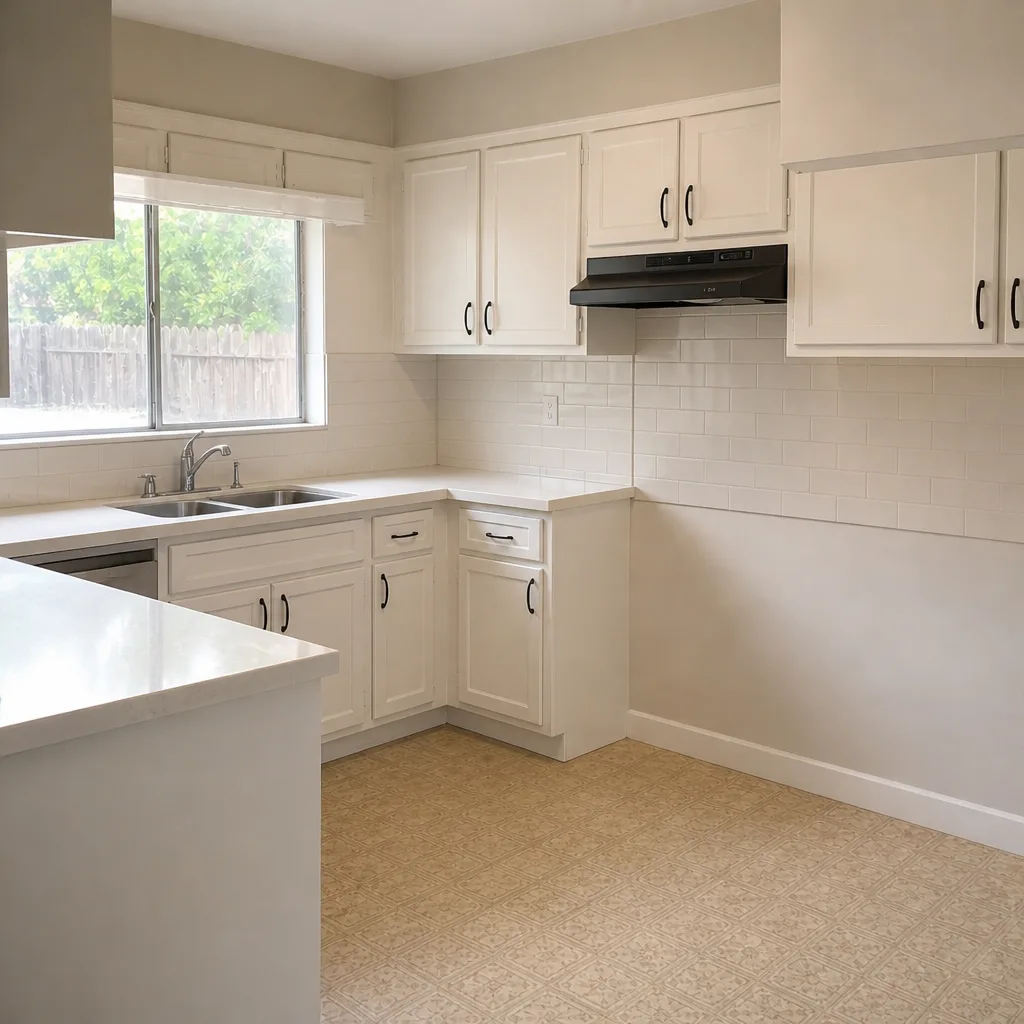 After
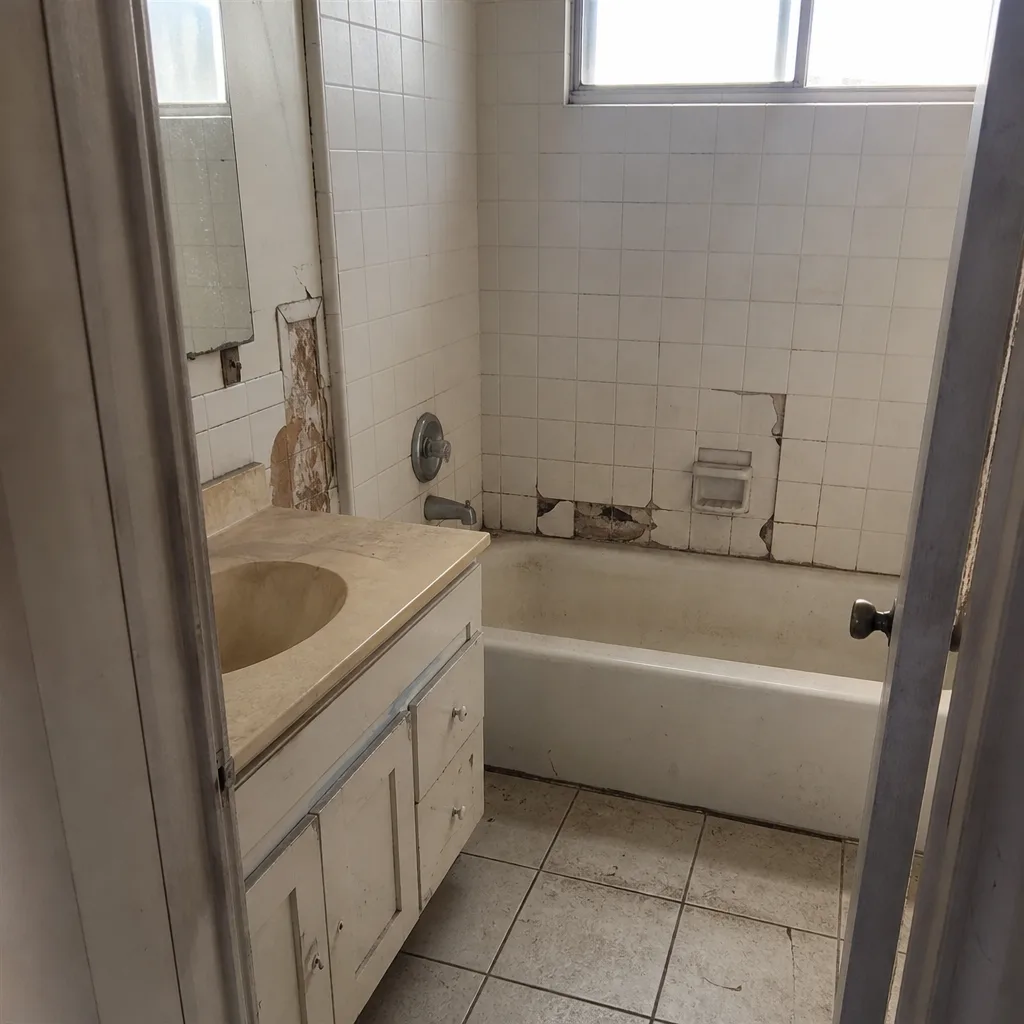 Before
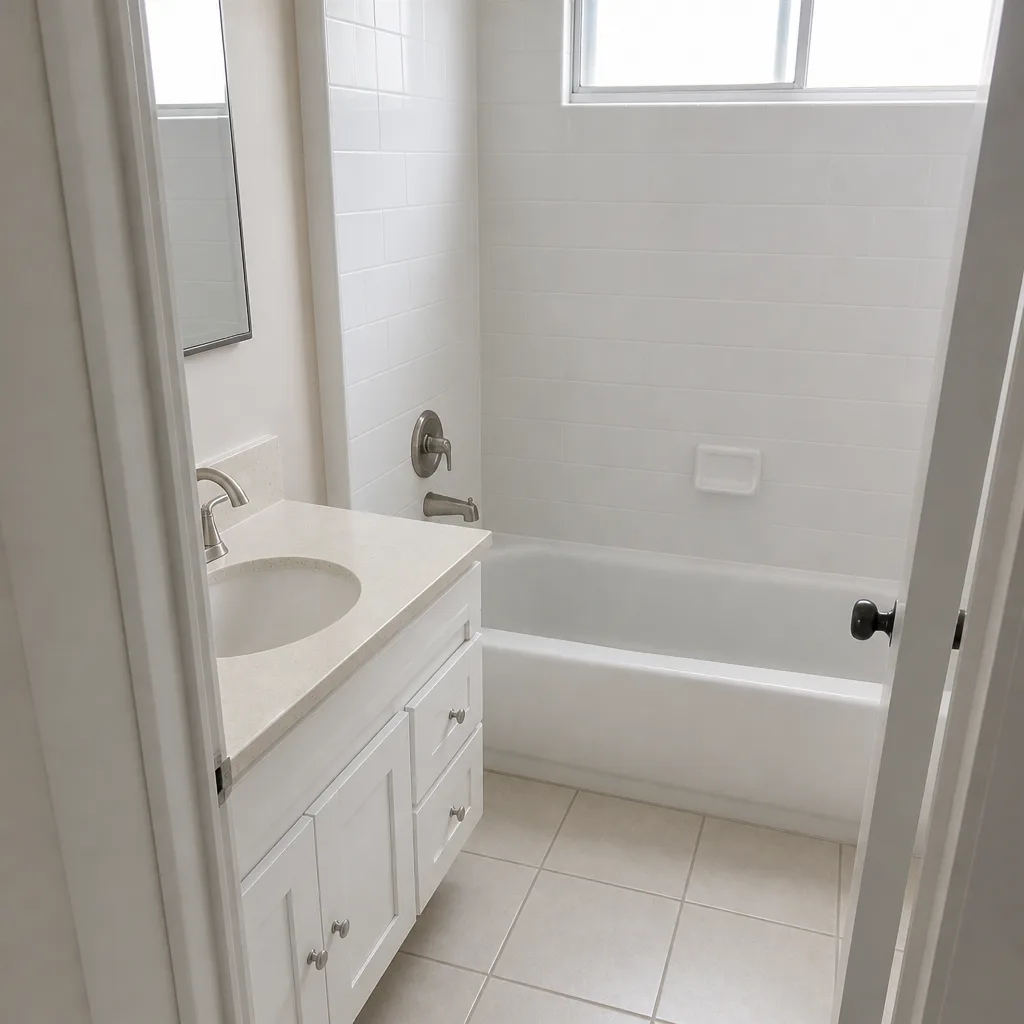 After
When to Call a Professional
Call a professional when the probe rod sinks, when a whole panel tilts as one, when the edge restraint has bowed or cracked, or when water pools on the driveway after rain. Those are base, edge, and grading problems, and none of them are fixed by resetting pavers. Also call when you’re facing a full rebuild, because compacting a base to the depth a vehicle driveway needs takes equipment a homeowner won’t own, and a shallow redo just delays the failure. Rowan Construction Group Orange offers free estimates in Orange, with a written price and written scope before any work begins. Call (844) 320-7508 to schedule yours, and bring any competing quote for a free second opinion.
Frequently Asked Questions
A rocking paver means the bedding or base underneath has lost support, not that the paver itself is bad. Probe the joint beside it: if the rod stops firm, it’s surface settlement and a DIY relay works; if it sinks, the base has failed and needs excavation and re-compaction.
Small fixes like re-setting a settled section or re-sanding joints usually run under $400 when caught early, while base failure repairs that require excavation and re-compaction climb into the thousands. The number depends entirely on which of the four root causes is at work, which is why we diagnose before quoting. Call (844) 320-7508 for an exact figure; estimates are free.
The white haze is efflorescence, a mineral deposit, not mold or structural damage. Salts inside the pavers migrate to the surface with water and dry into a white film. Remove it by dry-scrubbing loose salts first, then applying a diluted masonry cleaner, rinsing thoroughly, and checking for chronic moisture underneath if it keeps returning.
A bowing edge that has pulled its stakes can sometimes be re-staked by a careful homeowner, but a cracked edge means the restraint has broken and needs section replacement. Both failures spread the field outward if ignored, so if the perimeter shows open joints and shifting pavers, it’s worth a professional look before the repair grows.
Only when the pavement is completely dry and the joints are sound. Sealing a damp driveway traps moisture and causes a milky haze, peeling, and spalling. Sealing also hides open joints and edge movement until they’ve grown, so inspect before you seal, not after.
When the base has failed, not just the surface. Signs include a whole panel tilting together, a probe rod sinking deep into a void, pooling water that can’t drain, and multiple failures across the driveway. A rebuild excavates to sound material and compacts a proper base in lifts, which a hand tamper can’t match. Call (844) 320-7508 for a free estimate and a written scope.
The Bottom Line
Every paver problem you’ll face traces back to one of four causes: base failure, edge restraint pull-out, joint sand erosion, or sealed-in moisture. Read the symptom with a 4-foot level and a probe rod, then fix the cause, not the paver. Surface issues are weekend work; base and grading problems need real equipment. Caught early, most repairs stay under $400. Ignored past a second rainy season, they reach the thousands. Our technicians, with up to 19 years of experience, diagnose the whole system and hand you a written price before anyone picks up a tool.
If your driveway in Orange is rocking, bowing at the edge, or holding water you can see, Rowan Construction Group Orange will diagnose it and give you a flat written price with a written scope. Call (844) 320-7508 to schedule your free estimate, and bring a competitor’s quote for a free second opinion. Start at our Rowan Construction Group Orange home page for the full picture of our seven trades.
Written by the team at Rowan Construction Group Orange.