Last updated November 18, 2026







Free written scope consultation - allowances, timeline, and change-order rules on paper before a single trade is scheduled
Bathroom Remodeling Maintenance Schedule: What to Do and When
Most grout failures that show up at year three were preventable with a $6 tube of sealant applied at month six. The remodel didn’t fail. The follow-up schedule did. In our experience across Orange bathrooms, from the 1920s bungalows near the Plaza to the newer builds out toward the hills, the single biggest predictor of whether a tiled shower looks new at year five isn’t the tile brand or the setter’s skill. It’s whether anyone wrote down what to do in week two, month six, and month twelve. This guide turns post-remodel upkeep into a dated calendar. You’ll get a 90-day sequence, material-specific intervals for Kohler fixtures and Delta valves, the line between cosmetic and structural tasks, and how skipping the 12-month grout reseal can quietly void a tile warranty.
Quick Answer
A bathroom remodel needs three maintenance windows: the first 90 days (caulk cure checks, grout sealing, exhaust fan filter clearing), the 6-month mark (first grout seal refresh and drain inspection), and an annual cycle (re-caulking wet joints, resealing grout, testing the exhaust fan, checking supply lines). Cosmetic tasks you can handle yourself. Anything involving the valve cartridge, supply lines, or a cracked tile with movement behind it goes to a licensed plumber or your remodeler.
Styles & brands we work with
- Kitchen remodeling
- Bathroom remodeling
- Home additions & ADU
- Roofing
- Windows & doors
- Driveway & pavers
- Fence
Table of Contents
- The First 90 Days: A Week-by-Week Schedule
- Material-Specific Intervals: Tile, Kohler, Delta, and Schluter Edging
- Cosmetic vs. Structural: Which Tasks You Handle and Which Need a Pro
- The Seasonal Calendar: A Dated Checklist for Orange Homes
- Why the 12-Month Grout Reseal Matters for Your Warranty
- Exhaust Fan and Moisture Control in Orange’s Climate
- Common Mistakes to Avoid
- When to Call a Professional
The First 90 Days: A Week-by-Week Schedule
The first three months after a bathroom remodel are where the schedule is won or lost. Fresh caulk is still curing, fresh grout is still releasing moisture, and the exhaust fan is working harder than it will at any other point in its life because it’s pulling out construction humidity. Here’s the sequence we hand Orange homeowners when we close out a bathroom project.
- Week 1: Run the exhaust fan for 20 minutes after every shower. Don’t scrub new grout. Don’t seal new grout – concrete-based grout needs 7 to 10 days to cure before sealant goes on, and sealing too early traps moisture that causes the exact haze you’re trying to prevent.
- Week 2: Check every caulk joint by pressing gently. If a bead pulls away from the tile or tub edge, that’s a prep issue, not a wear issue – call your remodeler. Under the 365-Day Done Right Promise, if it’s not done right, we make it right, and this is exactly the window where that matters.
- Week 3: Clear the exhaust fan grille. Dust and drywall particles settle into the housing during a remodel and cut airflow by 30 to 40 percent. Vacuum the grille and, if you can reach it safely with the breaker off, the fan blades.
- Week 4: First grout seal on floor tile and shower pan. One coat, wiped down after 10 minutes, cured 24 hours.
- Week 6: Second seal coat on high-traffic floor tile. Check the shower curb and the joint where the wall tile meets the pan – these take the most water.
- Week 8: Inspect the supply lines under the sink for weeping at the compression fittings. A quarter-turn on a shutoff is normal; a drip is not.
- Week 12: Full walkthrough. Photograph every joint, seal, and fixture. This is your baseline – the reference set you’ll compare against at month six and month twelve.
The philosophy here matches how we approach every trade under the Haven Standard: say what we found, document the condition, then decide. A quick photo at week 12 tells you more at month 12 than any memory will.
Material-Specific Intervals: Tile, Kohler, Delta, and Schluter Edging
Not every surface in a bathroom needs the same attention, and treating them all the same wastes your weekends and shortens the life of the finishes. Here’s how we think about the intervals by material and manufacturer.
- Schluter tile edging and profiles: Annual inspection. Schluter’s Kerdi and Dilex systems do their job as long as the caulk joint where the profile meets the tile stays intact. Check once a year, re-caulk the joint if it’s pulled away. The profile itself doesn’t wear out; the seal around it does.
- Kohler fixtures (faucets, showerheads, toilets): Every 6 months, inspect aerators and showerhead faces for calcium. Orange water runs moderately hard, and a Kohler aerator will scale visibly by month 8 if you don’t pull and soak it in white vinegar for 30 minutes. Toilet fill and flush valves on Kohler and Toto units should be checked every 12 months – a slow leak there adds $20 to $40 to a water bill without any visible sign.
- Delta valves and cartridges: Every 12 months, test the shower valve for temperature consistency and drips. Delta cartridges are robust but the rubber seats wear, and a worn cartridge is the most common cause of a shower that won’t hold temperature. A cartridge swap is a licensed-plumber task, not a DIY one – the valve body is under pressure and behind the wall.
- Grout (all brands): Seal floor grout twice a year, wall grout once a year, shower grout every 6 months. Reseal the full shower at the 12-month mark regardless of appearance.
- Glass shower enclosures: Squeegee daily, deep-clean monthly with a non-abrasive cleaner. Skip the abrasive and you preserve the factory coating for 5 to 7 years instead of 2.
If you’re planning a full bathroom replacement and want the material list built around this kind of maintenance reality, our Rowan Construction Group Orange home page lays out the trades and the process.
Cosmetic vs. Structural: Which Tasks You Handle and Which Need a Pro
Half the maintenance mistakes we see in Orange come down to a homeowner treating a structural task as cosmetic. The line is easy to draw once you know where it is.
Cosmetic tasks affect appearance only. You can do these yourself:
- Re-caulking the joint where the tub or shower pan meets the wall tile
- Sealing grout
- Cleaning aerators and showerheads
- Vacuuming the exhaust fan grille
- Wiping down glass and porcelain
Structural tasks touch water supply, drainage, waterproofing membranes, or the framing behind the tile. These need a licensed plumber or your remodeling professional:
- Replacing a Delta or Kohler valve cartridge
- Replacing a shutoff valve or supply line that’s weeping
- Any tile that has cracked with movement behind it (a “hollow” sound when tapped means the thinset or backer failed)
- Grout that has cracked in a straight line across a shower pan or wall – that’s usually a substrate issue, not a sealant issue
- Any moisture you can see or smell behind a wall or under a floor
- Replacing a toilet flange or wax ring
The rule we give homeowners: if the task involves opening a wall, turning off the main water supply, or touching the waterproofing layer, it’s not cosmetic. That single distinction prevents most of the water damage we’ve repaired in Orange bathrooms over the years.
The Seasonal Calendar: A Dated Checklist for Orange Homes
Generic advice says “check periodically.” That’s useless. Here’s the calendar we recommend, organized by season and tied to actual dates.
- January (post-holiday reset): Inspect all caulk joints after the winter humidity shift. Re-caulk any that have pulled away. Check exhaust fan airflow with a tissue test – hold a tissue to the grille; if it doesn’t stick, the fan is losing pull.
- March (pre-summer): Reseal shower grout before Orange’s dry season. Test the A/C and bathroom exhaust fans for both operation and noise – a rattling fan is a bearing going out.
- June (mid-year): Annual supply line inspection under all sinks. Check the toilet fill valve and flapper. Clean aerators on Kohler and Delta fixtures. Deep-clean the glass enclosure.
- September (pre-winter): Reseal floor grout a second time. Inspect Schluter profiles for caulk separation. Test the shower valve for temperature hold. Clear the exhaust fan again ahead of holiday humidity.
- December (year-end): Full annual review. Photograph everything. Note any changes against your week-12 baseline. Replace the exhaust fan filter if your unit has one.
Two reseal cycles a year (spring and fall) and two full inspections (mid-year and year-end) is the minimum. Add a full reseal at the 12-month mark – see the next section for why that one is different.
Why the 12-Month Grout Reseal Matters for Your Warranty
Here’s the part most homeowners never read: several tile and grout warranties on the market in Orange require documented maintenance, and a missed 12-month reseal can be cited as a reason to deny a claim. We’ve seen this play out. The homeowner calls about a failing shower pan at year four, the manufacturer asks for maintenance records, and there aren’t any.
The manufacturers to know:
- Custom Building Products (their grout and sealant lines) publishes maintenance guidance that calls for periodic resealing; undocumented gaps can complicate a warranty claim on grout failure.
- MAPEI grout and sealant systems carry similar maintenance expectations tied to the product’s rated lifespan.
- Laticrete and Schluter systems are more forgiving on the waterproofing side, but the grout joint seal still defaults to the installer’s written guidance, which is why the documentation you keep after the job matters.
What that means in practice: at the 12-month mark, do a full shower reseal, photograph it, and keep the receipt for the sealant. Store both next to your written scope and the manufacturer paperwork your remodeler left you.
On the exterior side of the house, the same logic applies to the materials behind your driveway and fence. If you’re planning exterior projects after the bathroom, our Driveway & Pavers in Orange and Fence Installation in Orange pages describe the maintenance intervals for Belgard, Techo-Bloc, and Bufftech products – the same schedule discipline, different surfaces.
Exhaust Fan and Moisture Control in Orange’s Climate
Orange sits in a climate that hides bathroom moisture problems better than most. The dry summers mean a shower’s steam clears fast, and the humidity swings through the year don’t punish a poorly vented bathroom the way they would in a coastal or humid climate. The catch: that same dry air means a leak or a slow weeper can run for months without showing the mold you’d expect in a wetter place. We see this in Orange homes regularly – a slow supply-line weep that’s been running since spring, only discovered when the baseboard warps in the fall.
The exhaust fan is your first line of defense. Run it for 20 minutes after every shower, not 5. Clear the grille every 90 days. If the fan is more than 8 years old or you can hear it rattling, it’s working harder and moving less air than it did new. A replacement fan is a modest job, and a bathroom with stale airflow is where the moisture damage starts.
A hygrometer – a $15 humidity sensor – takes the guesswork out. Keep bathroom relative humidity under 60 percent. If you’re seeing readings above 65 percent after a shower, either the fan is undersized or the run time is too short.
Common Mistakes to Avoid
- Sealing grout too early. Fresh grout cures for 7 to 10 days before sealant goes on. Sealing on day two traps moisture and produces the haze people blame on the sealant itself.
- Using silicone caulk on the shower pan perimeter. A flexible acrylic or siliconized acrylic is the right choice for the joint between wall tile and a shower pan. Straight silicone bonds poorly to fresh grout and tears away in 18 months.
- Skipping the exhaust fan filter. Most fans don’t have a filter, but the ones that do need it cleared every 90 days. A clogged filter shortens the fan motor’s life by years.
- Ignoring a weeping supply line. A quarter-turn on a shutoff to stop a drip is a warning sign, not a fix. In Orange, that slow weep can run for months without showing mold, then surface as a warped baseboard or bubbling drywall.
- Treating a cracked shower pan grout line as cosmetic. A straight crack across the pan is almost always substrate movement behind the tile. Caulk over it and it recurs; photograph it and call your remodeler and you catch the real cause.
- Skipping the 12-month reseal. This is the one that voids warranties. Photograph it and keep the sealant receipt with your project paperwork.
- Assuming “periodically” means “when I notice.” Anchor every task to a season or a date. A calendar beats a memory every time.
When to Call a Professional
Call a licensed plumber or your remodeling contractor when: grout has cracked in a straight line across a shower pan or wall; a tile sounds hollow when tapped; you see or smell moisture behind a wall or under a floor; a supply line is weeping and won’t stop with a quarter-turn; the shower valve won’t hold temperature; or a Delta or Kohler cartridge needs replacing. Those are the tasks that cross from cosmetic into structural, and they’re where a small fix becomes a five-figure repair if left alone. If you’re planning a bathroom remodel and want the maintenance calendar handed to you in writing at project close, Rowan Construction Group Orange offers free estimates in Orange – call (844) 320-7508. Background-checked technicians, a written scope before work starts, and a documented photo record on every visit.
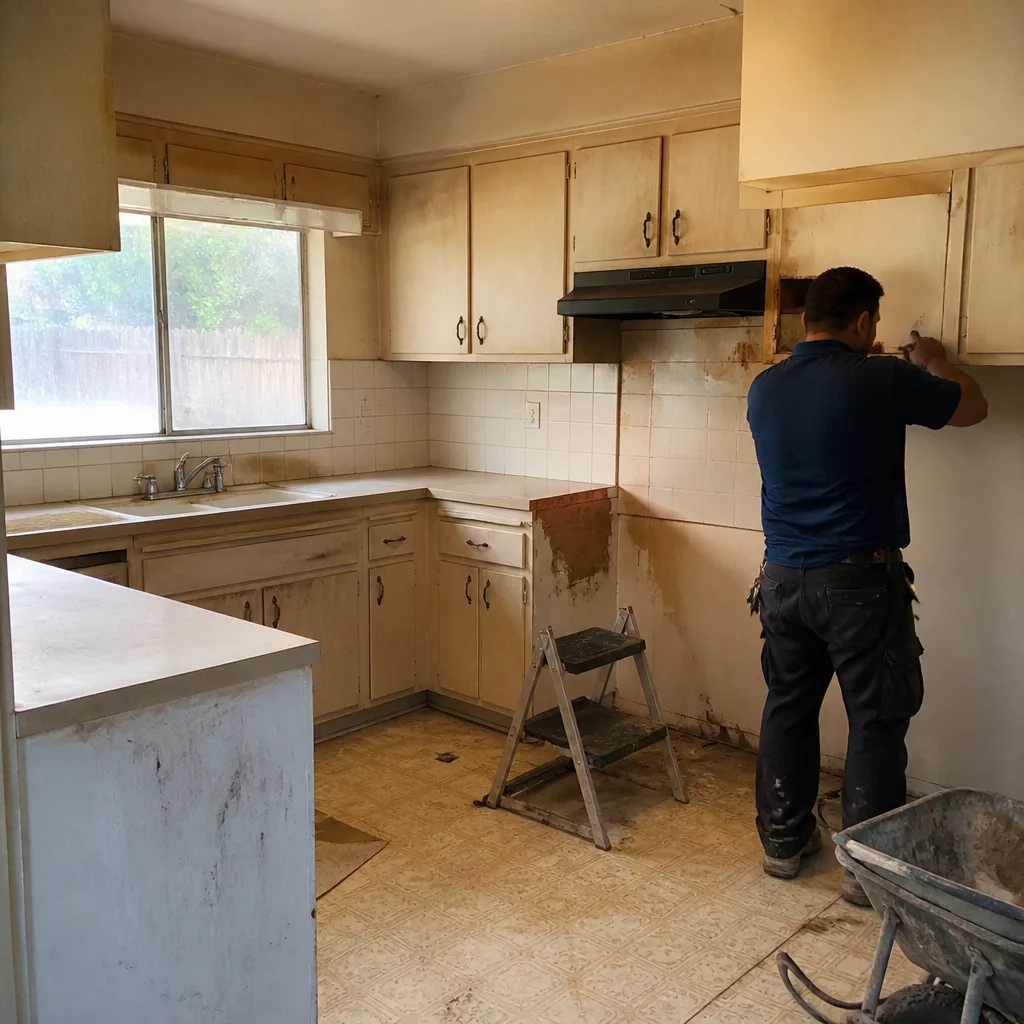
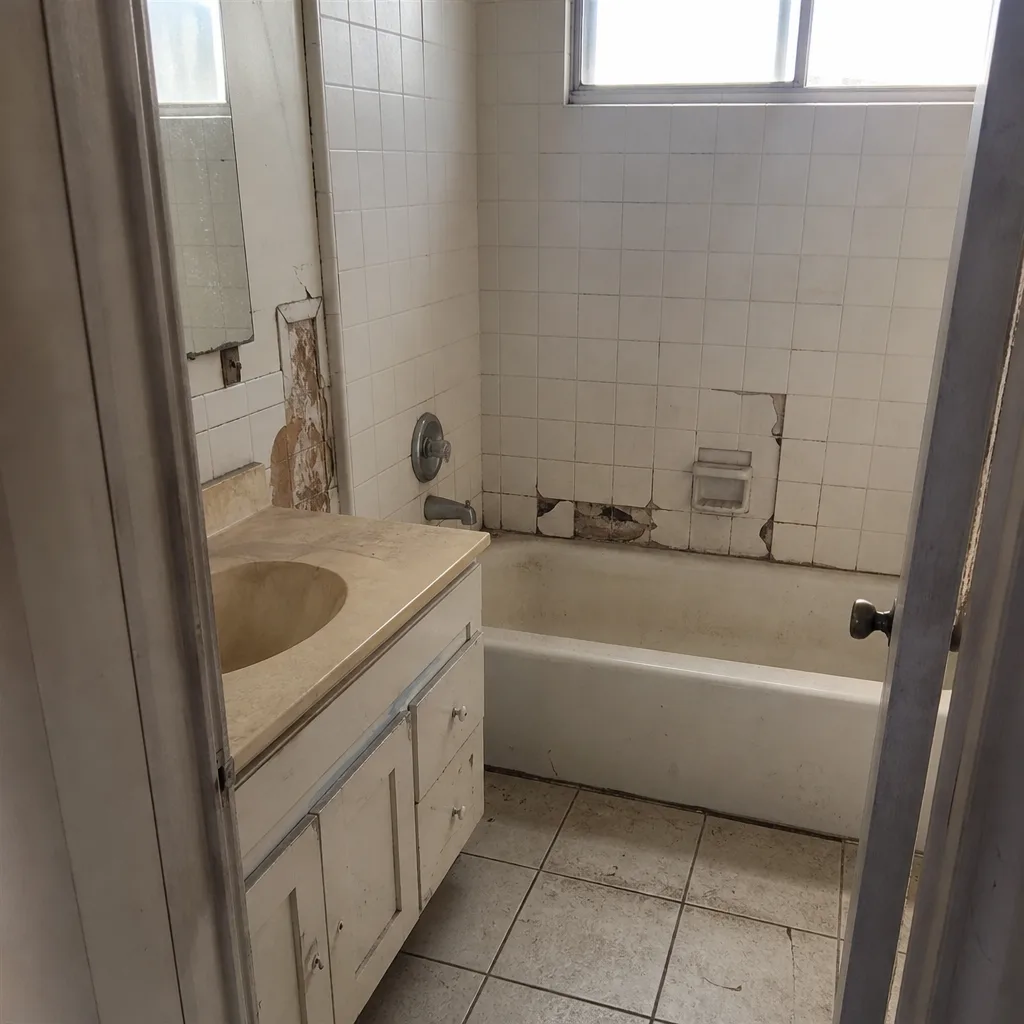
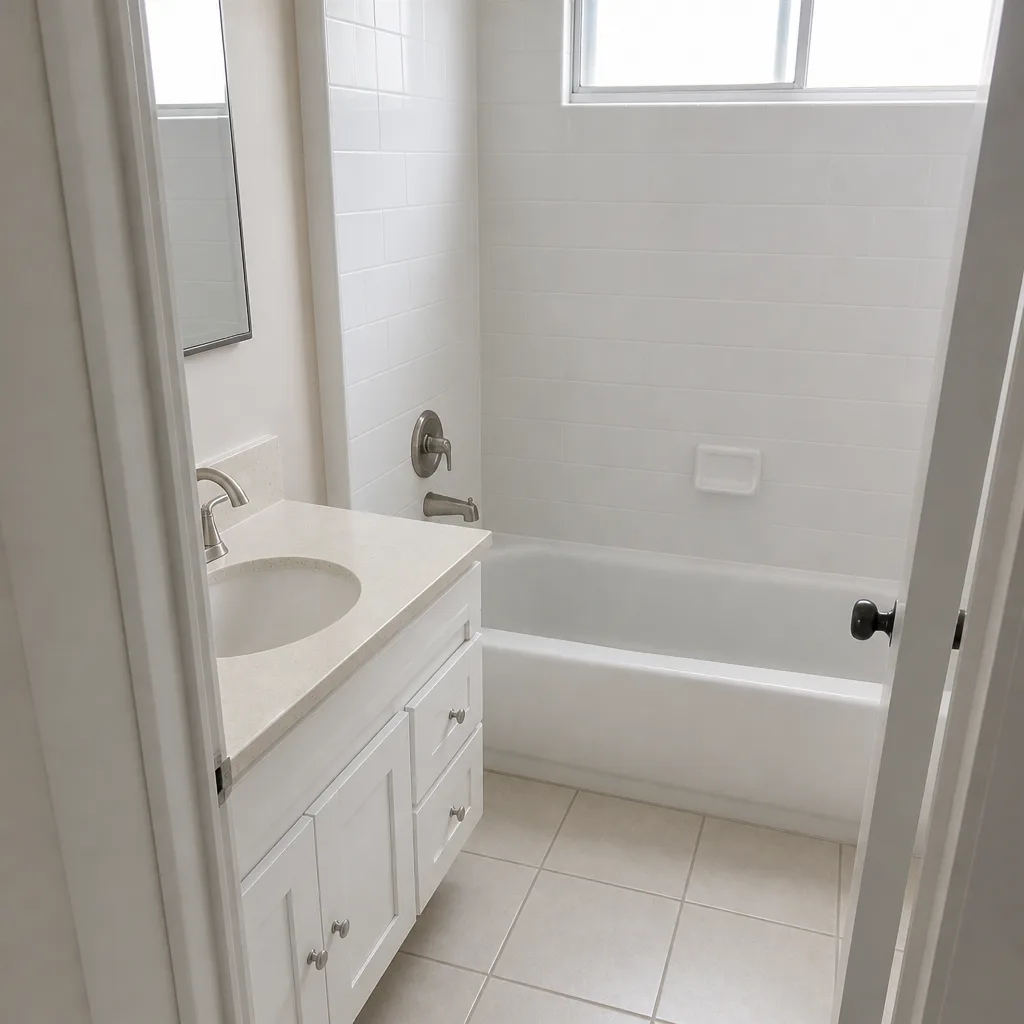
See the difference
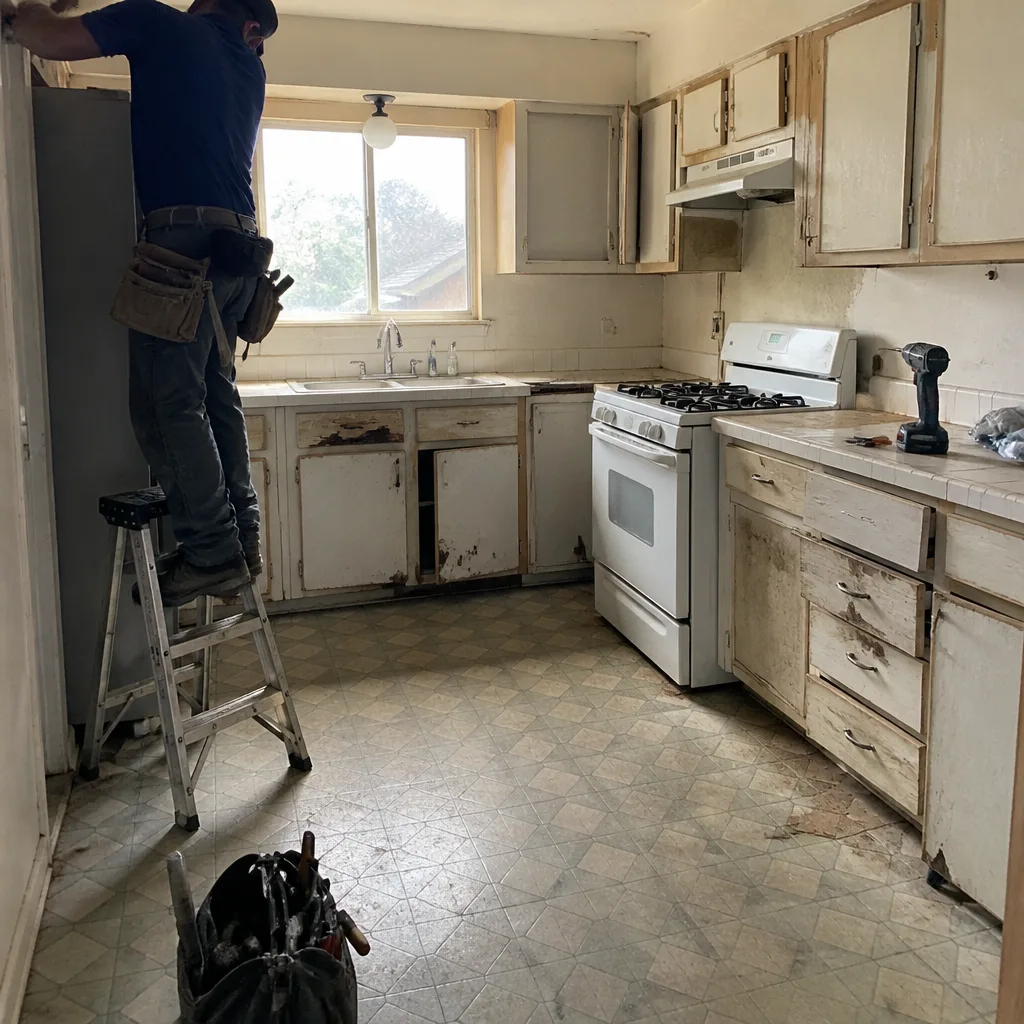 Before
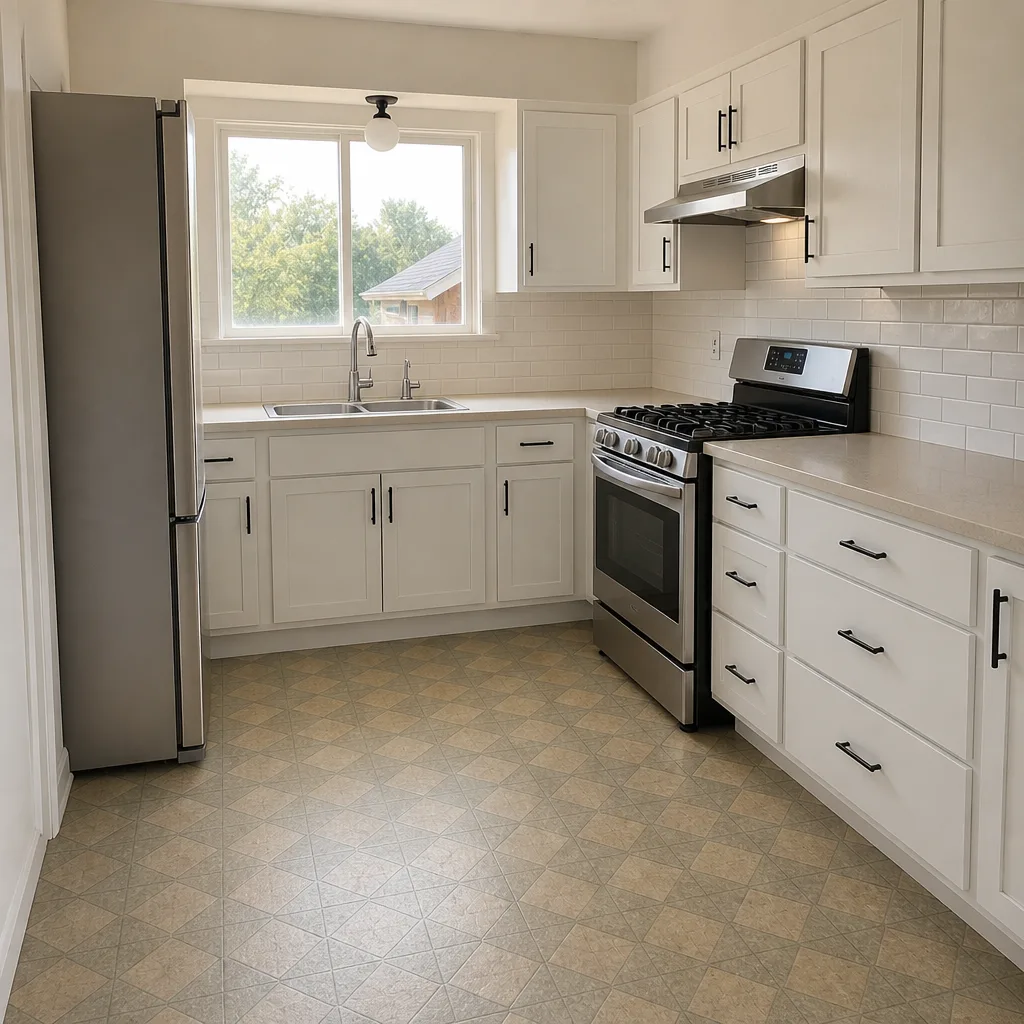 After
 Before
 After
 Before
 After
Frequently Asked Questions
Wait 7 to 10 days after the grout is installed before applying sealant. Fresh concrete-based grout releases moisture as it cures, and sealing too early traps that moisture. The first seal coat on floor tile and the shower pan should happen at week four, with a second coat at week six on high-traffic floor areas.
Yes. A full shower reseal at the 12-month mark is the single most important maintenance task in the whole schedule, and it’s the one manufacturers cite when a warranty claim gets complicated. Photograph the reseal and keep the sealant receipt with your project paperwork. Call (844) 320-7508 if you’d like a walkthrough of what to document.
If the shower won’t hold temperature, drips from the spout when shut off, or the handle feels stiff or gritty, the cartridge is the likely culprit. A Kohler or Delta cartridge swap is a licensed-plumber task because the valve body is behind the wall and under pressure. Don’t open it yourself. Call (844) 320-7508 for a free estimate on the replacement.
Cosmetic tasks affect appearance only – caulking, sealing, cleaning aerators. Structural tasks touch water supply, drainage, the waterproofing membrane, or the framing behind the tile – cartridge replacement, supply-line repair, cracked-tile-with-movement cases. Anything that involves opening a wall or turning off the main water supply is structural. Call (844) 320-7508 if you’re unsure which category a task belongs to.
Both. The dry summers mean steam clears fast, so an undersized fan or a short run time doesn’t produce mold as quickly as it would in a humid climate. The downside is that a slow supply-line weep can run for months before it surfaces as a warped baseboard or bubbling drywall. Keep a $15 hygrometer in the bathroom and hold relative humidity under 60 percent. Call (844) 320-7508 for an estimate on a fan upgrade if readings stay above 65 percent after a shower.
Not with our written-price approach. Under Clause 1 of the Haven Standard, you get a written flat price with a written scope before any work starts, and no change proceeds without a signed change order. That discipline is why our projects finish within a few percent of the agreed cost. Call (844) 320-7508 to schedule your free estimate.
The Bottom Line
A bathroom remodel’s lifespan is decided less by the materials than by the calendar that starts the week after the contractor leaves. Two seal cycles a year, two full inspections, a 90-day clearing of the exhaust fan, and a documented 12-month grout reseal are the whole game. Orange’s dry climate hides slow leaks, which makes the photo record and the schedule that much more important. When a task crosses from cosmetic into structural, call a professional. Rowan Construction Group Orange offers free estimates, written prices, and a documented photo record on every visit – call (844) 320-7508. If you’re planning to expand the project, our Home Additions & ADU in Orange page covers the process beyond the bathroom walls.
Written by the team at Rowan Construction Group Orange.