Last updated November 18, 2026




Free written scope consultation - allowances, timeline, and change-order rules on paper before a single trade is scheduled
Bathroom Remodeling Troubleshooting: Common Problems and How to Fix Them
A bathroom tile that sounds hollow when tapped isn’t a cosmetic problem. It’s evidence that the adhesive bond failed, which usually means the substrate got wet, which means water went somewhere it shouldn’t have. The tap test costs nothing and can find a $400 fix before it becomes a $4,000 one. In our experience across thousands of remodels, the spectacular failures – the ones that turn into insurance claims and gut renovations – almost never start with the tile. They start behind it, in the substrate, quietly wet for a year or two while the grout looked fine. This guide teaches you to read the early signals in an Orange bathroom before they read you. You’ll learn the tap test protocol, how to diagnose grout cracks by pattern, how to tell active from historic water intrusion without demolition, and what to do when a prior remodel has an open permit.
Quick Answer
Most bathroom remodeling problems trace back to waterproofing and substrate failures, not the visible tile or fixture. Diagnose them early with a systematic tap test on the shower surround, moisture meter readings at baseboards and wall junctions, and a close read of grout crack patterns – then fix the underlying moisture source before replacing anything cosmetic. In Orange’s older housing stock, the substrate is usually the culprit: drywall where cement board belongs, or a failed membrane that’s been wicking water for years.
Styles & brands we work with
- Kitchen remodeling
- Bathroom remodeling
- Home additions & ADU
- Roofing
- Windows & doors
- Driveway & pavers
- Fence
Table of Contents
- The Tap Test: Finding Failed Tile Before It Finds You
- Grout Cracks as Diagnostic Tools
- Active vs. Historic Water Intrusion
- Drain and P-Trap Problems After a Remodel
- Permit Close-Out Problems in Orange
- Substrate Failures Nobody Warns You About
- Common Mistakes to Avoid
- Frequently Asked Questions
The Tap Test: Finding Failed Tile Before It Finds You
The tap test is exactly what it sounds like, but doing it systematically is what separates a two-minute hunch from a real diagnosis. Take a screwdriver handle or a coin and tap every tile in the shower surround, working in a grid. Solid tile produces a sharp, dense click. Hollow tile produces a duller thud with a slight ring – the sound of a tile sitting on a void rather than bonded to a substrate. You’ll know the difference after three or four taps on a known-good tile.
Work methodically:
- Start at the shower valve wall and tap a 6-inch grid pattern outward to the corners and down to the pan.
- Mark each hollow-sounding tile with painter’s tape – a small tab is enough.
- Note the pattern: isolated tiles, a vertical strip, or a broad zone near the wet wall.
- Press gently on each marked tile. If it flexes or the grout around it separates, that’s a failed bond.
- Map the failure zone before any demolition begins – photograph the taped grid so you have a record.
Why it matters: isolated hollow tiles near the bottom row often mean a small amount of wicking from the pan that can be addressed locally. A broad hollow field on the valve wall almost always means the substrate behind it has been wet long enough to delaminate – drywall or cement board that’s lost its integrity. This is the single most common substrate failure we find in Orange bathrooms built before the 1990s, where drywall was installed behind tile in wet areas. If you’re planning a kitchen remodel at the same time, the same tap test applies to backsplash tile and can save you a similar discovery.
Grout Cracks as Diagnostic Tools
Not all grout cracks mean the same thing. The pattern tells you the cause, and the cause dictates the fix. A hairline crack running vertically at an inside corner – where two walls meet, or where wall meets pan – is a movement crack. Grout is rigid; the two planes it bridges move independently with seasonal expansion and framing settling. The fix is not more grout. It’s caulk. The Tile Council of North America (TCNA) standard calls for sealant at all inside corners and where dissimilar materials meet. Grout there will crack again, every time.
A wide crack running through the field of tiles – away from corners, straight or branching – is adhesive failure. The thinset lost its bond to the tile or to the substrate, and the crack is the tile relaxing into the void. This is the pattern that requires removal, not repair. The same distinction applies at the shower pan: a crack in the floor tile field usually means the pan substrate flexed or the pre-slope was inadequate, while caulk separating at the wall-to-pan joint is often just age.
- Hairline at inside corners: movement – replace with color-matched caulk, not grout.
- Wide field crack, tile feels hollow: adhesive failure – tile must come up; substrate is suspect.
- Cracks radiating from the shower valve: often a past valve leak; check the back of the wall if accessible.
- Cracked floor tile field: pan substrate deflection or missing pre-slope – a membrane question.
- Cracking in a stair-step pattern: framing movement or a poorly secured backer board.
If your grout cracks keep coming back after re-grouting, the substrate is the message. That’s the difference between a cosmetic fix and a real one, and it’s a distinction our bathroom remodeling work in Orange returns to constantly. We routinely hand a homeowner a written scope with two prices: a cosmetic refresh, and the correct repair, so the decision is theirs, backed by what we found.
Active vs. Historic Water Intrusion
When you suspect water has gotten behind a bathroom wall, the first question is not “how much damage is there” but “is it still happening.” Active intrusion and historic intrusion need completely different responses, and you can tell them apart without opening the wall.
A pin-type or pinless moisture meter reads the relative moisture of the material behind the surface; a reading that stays elevated after a day without shower use points to an active source, while a reading that dries down toward the surrounding wall is historic. An infrared thermometer or a thermal camera shows cold spots where damp material sits – wet areas hold heat differently than dry ones, so a shower wall scanned before and after use can reveal a leak path. And a musty smell that seems to come from behind the baseboard or out of the wall cavity is a strong signal of long-standing damp and, often, mold growth in the cavity, even when the bathroom surface looks clean. The bathroom exhaust fan you run during and after showers is part of this picture – a fan that’s undersized or venting into the attic keeps the cavity wet regardless of the tile.
We’ve found the moisture-meter-and-IR approach particularly useful in Orange’s older bungalows and post-war tracts, where bathroom walls are often shared with bedrooms and closets, so early water shows up as peeling paint or musty air in an adjacent room before it ever reaches the tile. Document what you find – readings, photos, dates – because that record is what a contractor, an insurer, or a buyer’s inspector will want to see.
Drain and P-Trap Problems After a Remodel
A slow drain that shows up right after a remodel is one of the most common complaints we hear, and it’s rarely the new fixture’s fault. The question is whether you’re dealing with a venting problem, a clog, or a slope problem, and a bucket test settles it faster than a camera.
Run a bucket of water quickly into the drain. If the water sits and gurgles, or if draining another fixture makes the slow one bubble, you have a venting issue – the trap is being siphoned because the vent is blocked, improperly tied in, or missing. If the drain is simply slow but steady with no gurgle, it’s likely a clog in the trap or branch line. If the water drains fine when poured fast but backs up when poured slowly, suspect slope – the new drain tie-in may sit nearly flat. The P-trap itself can also be the culprit: a shallow-trap issue from a new vanity or a trap arm that lost fall when the cabinet went in.
- Gurgling, bubbling: venting problem – check the vent stack and AAV (air admittance valve) if one was installed.
- Steady slow, no gurgle: clog – a drain auger through the trap arm before a camera.
- Backs up when poured slowly : slope problem – the new rough-in lacks fall.
- Slow only at one fixture: local trap or branch issue, not the main line.
If the drain was fine before and slow after, the remodel is the variable, and that’s a conversation with whoever did the rough-in. Document the timing; a written scope with the plumbing details spelled out before the work is the way to avoid this whole category.
Permit Close-Out Problems in Orange
A previous bathroom remodel can leave you with an open permit you didn’t know existed, and it surfaces at the worst time – the final inspection before you sell, or during the buyer’s due diligence. This is common in Orange, where bathroom remodels have cycled through many owners since the 1960s, and a homeowner who pulled a permit and never closed it can hand you the problem years later.
Here’s how to work it out. First, pull the permit history for the address through the City of Orange’s building department or online portal. If a permit is open, request the inspection record and the conditions needed to close it. If the work was completed but never inspected, you can generally schedule a retroactive inspection; the inspector will evaluate the work as it stands, which sometimes means opening a small section of wall to confirm plumbing and waterproofing. For plumbing that was altered without a permit, an as-built drawing – a plan showing what was actually installed, with fixture locations, drain and vent routing, and pipe sizing – is often required to document the existing condition before the city will sign off. A licensed professional can prepare and stamp that drawing; don’t try to sketch one yourself. The full record matters beyond the bathroom; it’s the same permit discipline that keeps a home addition or ADU from getting stuck, and it’s why we keep a written scope and inspection paperwork on every job. A project with clean paperwork is one you can sell, insure, and stand behind.
Substrate Failures Nobody Warns You About
Most of what we’ve covered points back to one thing: the substrate behind the tile. The substrate is the layer the tile bonds to – cement backer board, a foam tile-backer panel, or, in older bathrooms, drywall. Cement-based backer board is unaffected by moisture; drywall in a wet area is a sponge. A waterproofing membrane (a liquid-applied coating or a sheet membrane) is the layer that actually keeps water out of the wall. When the membrane fails, or was never installed, water reaches the substrate, the substrate softens, the adhesive bond lets go, and the tile sounds hollow. The tap test reads that failure long before you see it.
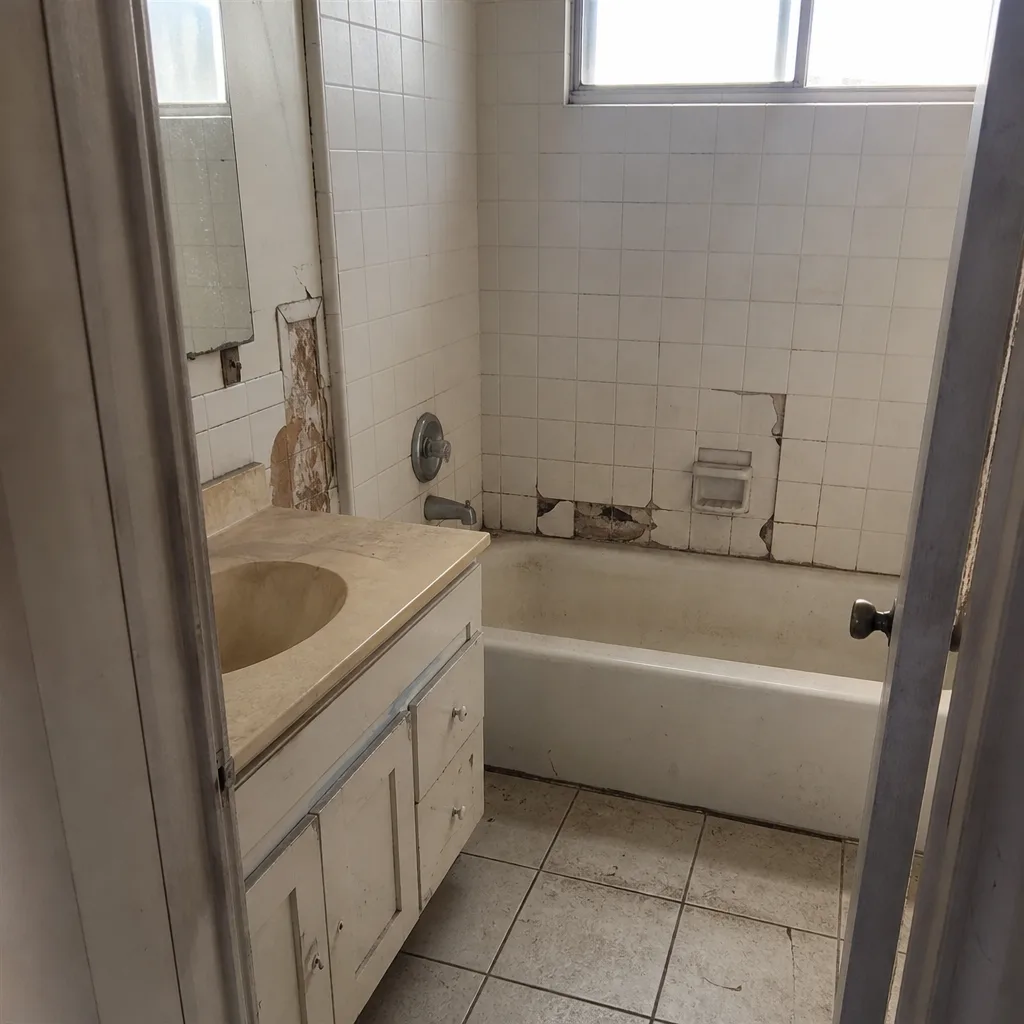
In Orange bathrooms from the mid-century tracts, we often find tile bedded on mortar on top of drywall with no membrane at all – the sort of construction that held up for decades because the cavity stayed dry, right up until a grout crack let water in. A moisture meter and a tap test together tell you how far it’s spread. Fixing it usually means: remove the affected tile and substrate, replace with cement board, install a proper waterproofing membrane, then re-tile. Cosmetic regrouting over a wet substrate spends money on the problem instead of the fix, and the failure returns within a season.
If you live somewhere with a tile shower that keeps failing, the honest answer is that the tile is a symptom. When we quote a bathroom remodel in Orange, we measure the substrate, name what we found, and put the required repair in the written scope with the price attached – not a verbal maybe. That’s the whole point of a written price before work starts: no surprises about what’s behind the wall once it’s open.
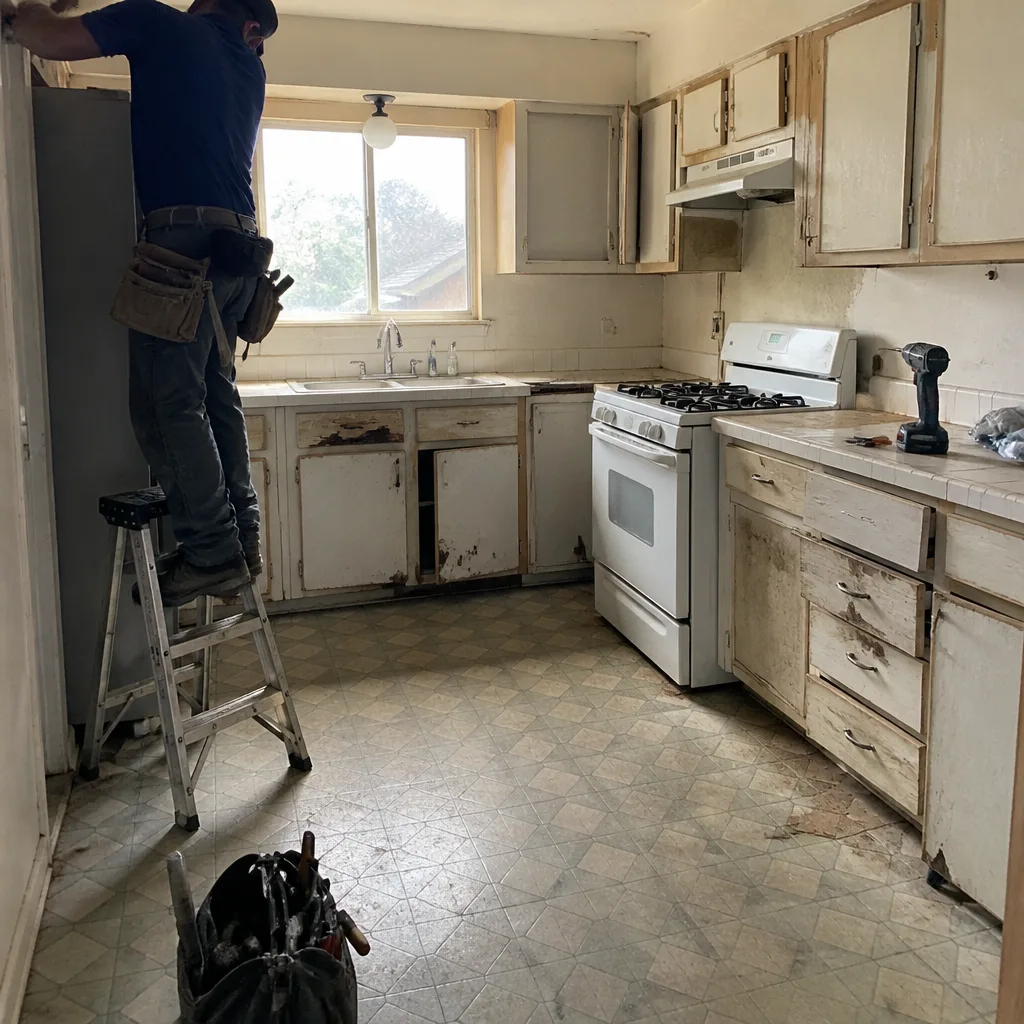
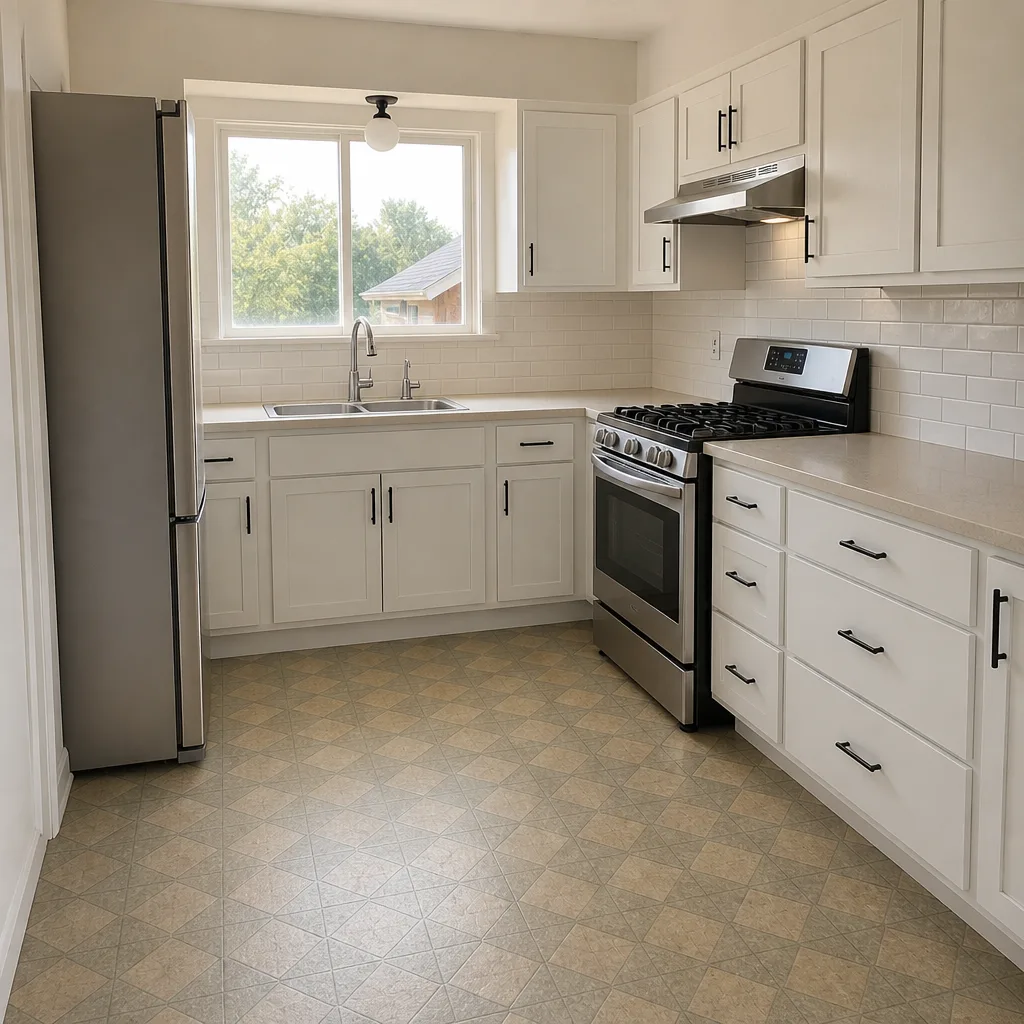
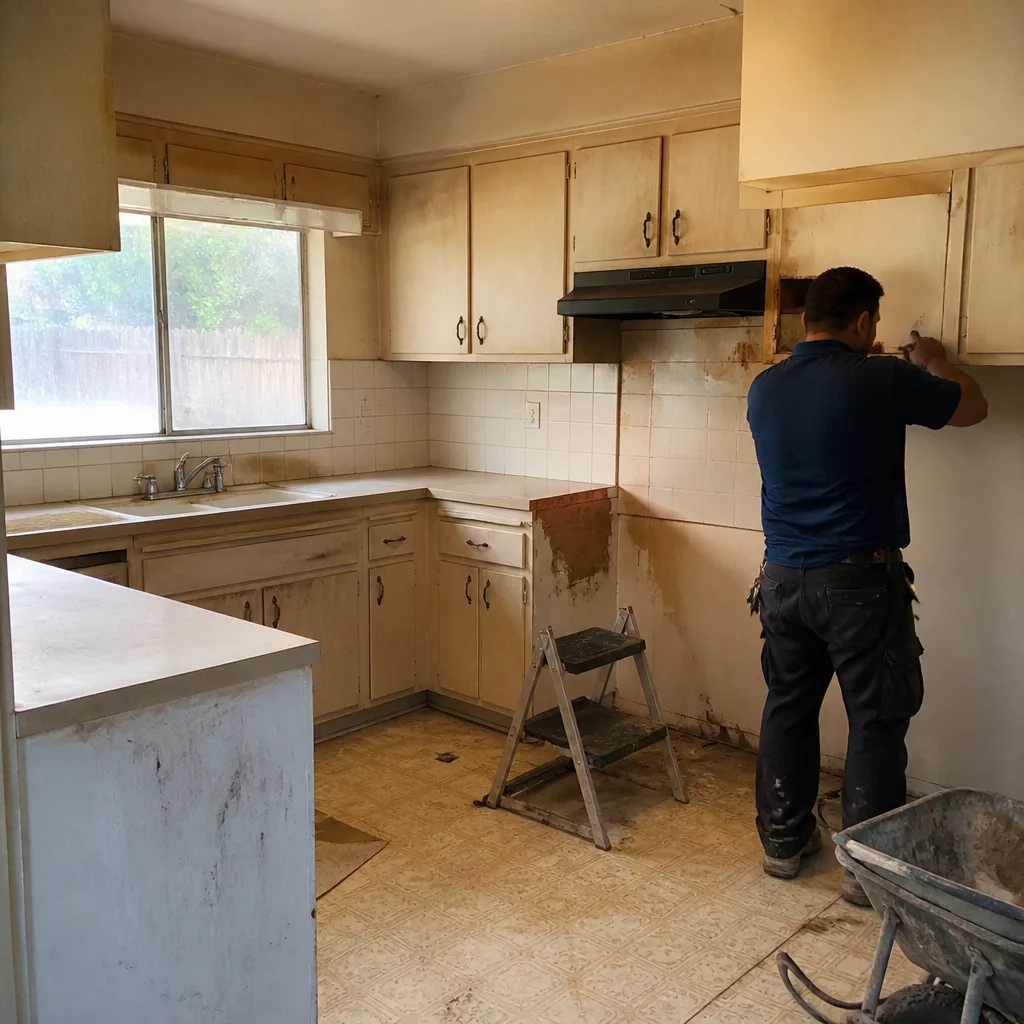
See the difference
 Before
 After
 Before
 After
 Before
 After
Common Mistakes to Avoid
- Regrouting over a hollow substrate. Cosmetic regrout on a wet, delaminated substrate hides the problem for a season and then fails again. The tap test tells you which one you have. Don’t spend money on grout when the answer is membrane.
- Grouting inside corners instead of caulking them. TCNA standards call for flexible sealant at all inside corners and at wall-to-pan joints. Grout there cracks because the two planes move separately; caulk is the fix, every time.
- Skipping the permit history before you buy or sell. An open bathroom permit in Orange County can stall a sale. Pull the history early; a retroactive inspection is far cheaper than a delayed close.
- Assuming a slow drain is a clog. A post-remodel slow drain can be a venting or slope problem, and augering a vent issue makes it worse. The bucket test costs nothing.
- Replacing fixtures before fixing moisture. A new vanity and toilet over a wet cavity just get installed on top of the problem. Find the source first.
- Trusting a verbal estimate on substrate work. Anything behind a wall needs a written scope and price; “we’ll see when we open it” is how budgets blow past the agreed number.
- Ignoring a musty smell in the wall cavity. Behind the baseboard, musty air usually means long-standing damp and mold in the cavity, even when the surface looks clean.
When to Call a Professional
Some problems are honest do-it-yourself work – a stuck flapper, a caulk bead that’s separated, a loose escutcheon. But several bathroom conditions carry real risk and need a trained professional. Call someone if the tap test finds a broad hollow zone on a wet wall, if your moisture meter or IR scan shows active intrusion you can’t trace to a visible source, if the shower pan fails a water test or cracks radiate from the drain, if a drain tie-in needs a slope corrected, or if a permit was never closed. The bigger reason to call: demolition behind a wall can reveal surprises – framing that’s rotted, an improperly vented drain, a membrane that was never there – and opening the wrong section can turn a $400 fix into a $4,000 one. A professional diagnoses with a moisture meter and a camera and documents the plan before any tile comes off. Our free second opinion on any written estimate means you can bring a competitor’s quote and we’ll review it line by line at no charge. Rowan Construction Group Orange offers free estimates in Orange – call (844) 320-7508 to schedule one.
Frequently Asked Questions
Tap every tile in a grid with a screwdriver handle or coin: a hollow, dull thud with a ring means the tile lost its adhesive bond and sits on a void, while a solid tile clicks sharply. Mark the hollow ones with tape and record the pattern. A broad hollow zone on the wet wall means the substrate behind it is wet; an isolated tile or two near the bottom may be a local wicking issue. Call us for a free estimate if a wide area is hollow.
Not necessarily. Hairline cracks at inside corners are movement cracks – two planes moving separately – and the fix is flexible caulk there instead of grout, per TCNA standards. Wide cracks through the field of tiles are a different story: that’s adhesive failure, often a wet substrate, and the tile needs to come up. Call us for a free estimate to diagnose which you have.
Use a pin-type or pinless moisture meter: a reading that stays elevated after a day without shower use points to an active source, while one that dries down toward the surrounding wall is historic. A thermal camera shows cold, damp areas behind the tile. A musty smell near the baseboard often means long-standing damp in the cavity. When in doubt, call a professional – the readings drive the repair, and you don’t want to open the wrong section.
Do a bucket test before anything else. Gurgling or bubbling means a venting issue; a steady slow drain with no gurgle is usually a clog; a drain that backs up when poured slowly suggests a slope problem in the new tie-in. Run the test and note which fixture is affected. If it’s slope or venting, it needs a professional. Call (844) 320-7508 to schedule your free estimate.
Pull the permit history through the City of Orange’s building department, then request the inspection record and the conditions to close it. You can usually schedule a retroactive inspection, which may require opening a small section of wall to confirm plumbing and waterproofing. For plumbing altered without a permit, an as-built drawing – a plan showing what was actually installed – is often required, and a licensed professional prepares it. It’s a documented process, not a judgment call; call us for an estimate on getting a permit closed properly.
Regrouting over a wet, delaminated substrate fails quickly because you’re treating a symptom, not the cause. If the tap test shows a broad hollow zone and the moisture meter reads elevated behind the wall, the membrane and substrate are the problem and need attention. If it’s isolated corner cracking with a dry cavity, caulk is the right fix. Call us for a free estimate and we’ll tell you which one you’re looking at.
The Bottom Line
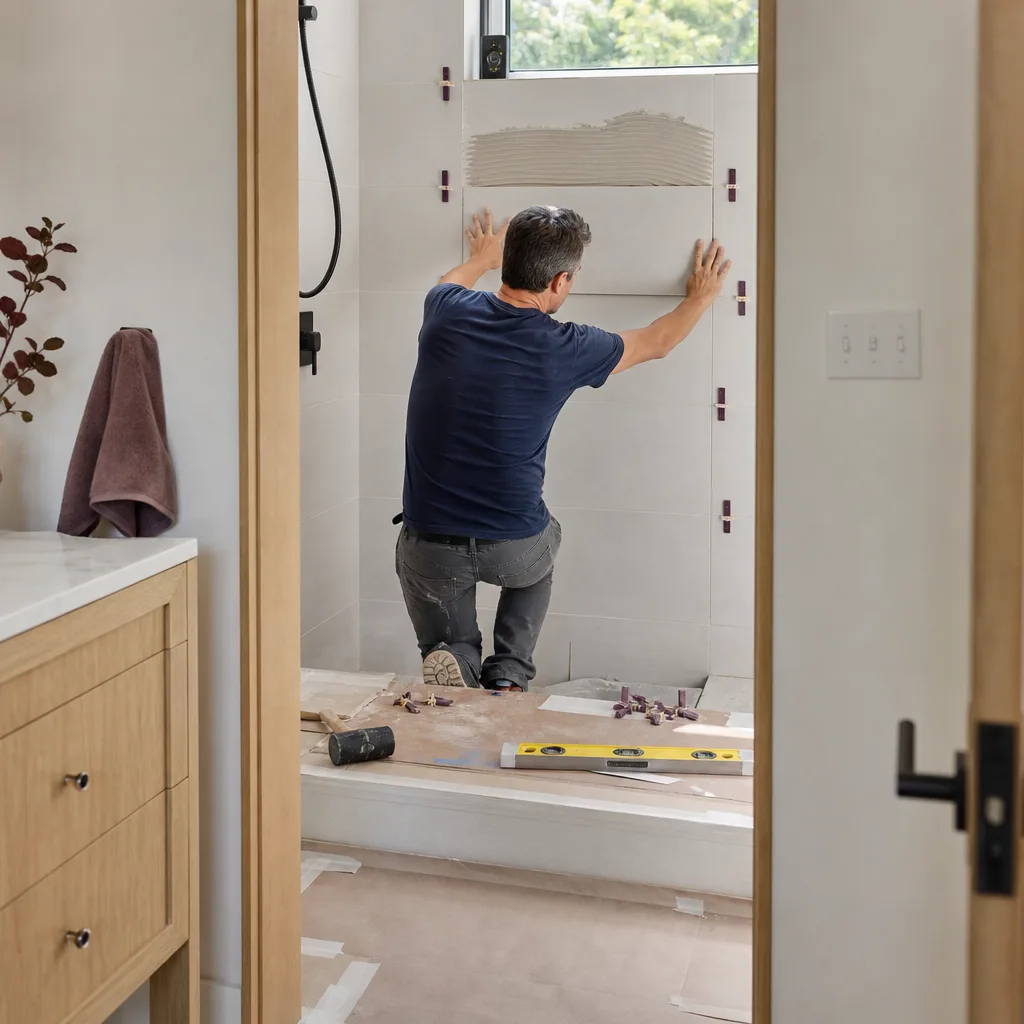
Bathroom remodeling failures almost always start behind the tile: a failed membrane, a wet substrate, a drywall-backed wall that should have been cement board. The good news is that the early signals are findable – a systematic tap test, the pattern of your grout cracks, a moisture meter reading, a bucket test on a slow drain – and fixing the cause before replacing anything cosmetic is what separates a $400 repair from a $4,000 rebuild. In Orange, mid-century construction makes the substrate the usual suspect, so read the wall before you read the tile. If a tap test finds a broad hollow zone, a mounting water intrusion, or an open permit on your property, don’t open the wall yourself. Call Rowan Construction Group Orange at (844) 320-7508 for a free estimate. We bring a written price before work starts, deliver a free second opinion on any written estimate you already have, and put a documented photo record in your hands on every visit – so what you call a hunch becomes evidence. While you’re planning, our guides to Rowan Construction Group Orange home upgrades, a new driveway and pavers in Orange, and a fence installation in Orange cover the exterior side of the same fixes-first approach.
Written by the team at Rowan Construction Group Orange.