Last updated November 18, 2026


Free written scope consultation - allowances, timeline, and change-order rules on paper before a single trade is scheduled
Driveway & Pavers Maintenance Checklist for Orange Homeowners
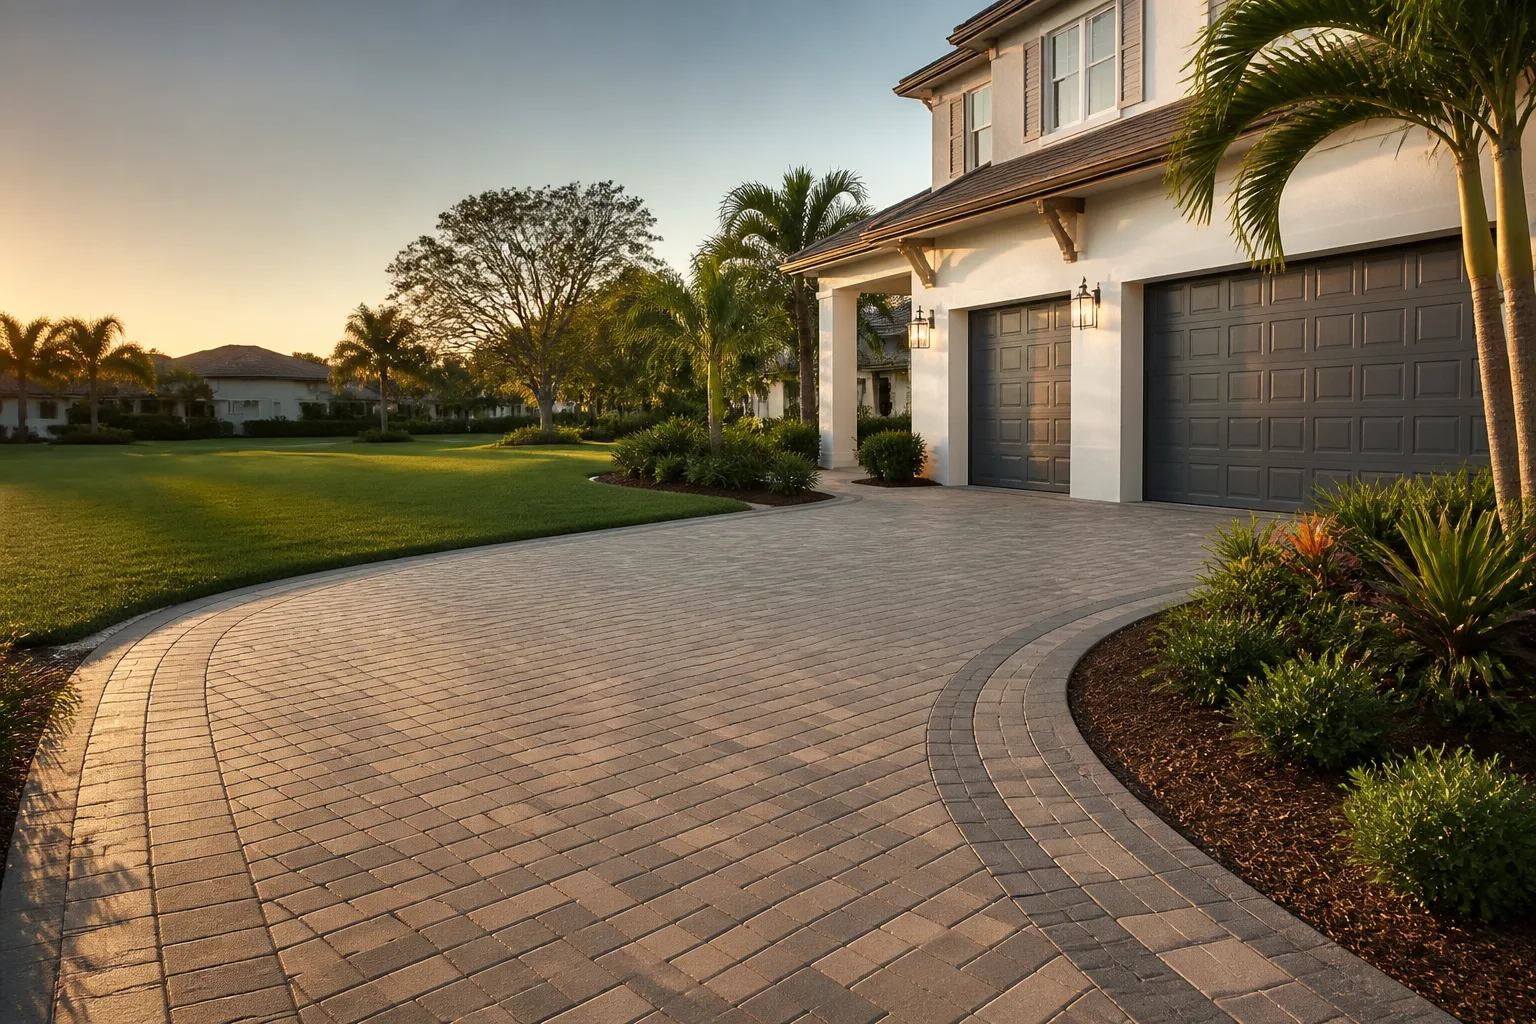
A paver driveway that was installed correctly and never maintained will still need re-sanding and re-sealing within four years in Orange’s climate. One that gets two hours of attention per year can go eight to ten. That gap is the whole story of flatwork in this city. Orange sits in a thermal window that punishes hardscape: summer afternoons push past 90°F, winter nights dip into the 40s, and the swing between them works on every joint and edge. Add irrigation overspray from lawns that run too long, and you have the two forces that quietly destroy driveways here. This checklist covers what to do, month by month, and how to catch failure before it costs you a reset.
Quick Answer
Maintain a paver driveway in Orange by re-sanding joints every two to three years, sealing every three to five years with a product matched to your paver material, and checking for settled or heaved sections after every rainy season. The two variables that matter most are thermal cycling from 90°F summer days and irrigation overspray that keeps joint sand wet. Control those and you’ll add years to any installation.
Styles & brands we work with
- Kitchen remodeling
- Bathroom remodeling
- Home additions & ADU
- Roofing
- Windows & doors
- Driveway & pavers
- Fence
Table of Contents
- Orange’s Seasonal Maintenance Calendar
- How to Spot Polymeric Sand Failure Early
- Choosing the Right Sealer by Paver Material
- Catching Heaved or Settled Sections
- Weed Prevention That Actually Works
- Drainage and Irrigation Overspray
- Keeping Records for Future Repairs
Orange’s Seasonal Maintenance Calendar
Generic four-season checklists were written for climates with hard freezes and heavy snow. Orange doesn’t have those. What Orange has is a long dry summer, a short rainy window from roughly November through March, and Santa Ana wind events that strip moisture out of everything. Maintenance here follows that calendar, not the calendar printed in a national home magazine.
January through March (rainy season):
- Walk the driveway after each significant rain and note where water pools. Standing water for more than an hour points to a drainage or slope problem.
- Check joint sand levels. Rain washes sand out of joints, and once the joints open, the base is exposed.
- Look for weeds germinating in joints. Pull them now, while the root system is shallow and comes out in one piece.
- Inspect the transition strip where the driveway meets the garage slab and the sidewalk. This is where settling shows up first.
April through June (dry-out and prep):
- Re-sand joints that lost material over the winter. This is the single highest-value task of the year.
- Clean the surface with a leaf blower or a stiff broom. Skip the pressure washer unless you’re resealing, and then use low pressure.
- Check irrigation heads along the driveway edge. Adjust or cap any that spray onto the pavers.
July through September (peak heat):
- Watch for efflorescence, the white chalky bloom that appears when moisture migrates through concrete pavers and evaporates on the surface. It’s cosmetic but signals moisture movement.
- Avoid sealing during heat waves. Sealers applied above 90°F can skin over before they penetrate, leaving a cloudy film.
- Water the lawn in the early morning, not midday, to cut overspray evaporation and keep pavers from staying wet.
October through December (pre-rain prep):
- Do your annual deep inspection before the rain arrives. This is the best window for re-sanding and sealing.
- Clear debris from any channel drain or French drain outlet.
- Photograph the driveway for your records so you can compare condition year over year.
Two hours per year, spread across these windows, is the realistic target. In our experience, homeowners in neighborhoods like Old Towne Orange and the streets around Hart Park who follow this rhythm avoid the expensive reset work that shows up after year six or seven.
How to Spot Polymeric Sand Failure Early
Polymeric sand is the stabilized joint sand that locks pavers together and keeps weeds from rooting in the base. When it fails, it fails in a predictable sequence, and catching it at step one costs a fraction of step three.
Here’s the progression to watch for:
- Color change. Healthy polymeric sand looks uniform and slightly matte. Early failure shows as light gray or white patches, often near the edges and in the lowest spots where water sits.
- Surface crusting. Run a finger across a joint. If the top layer flakes off like dried paint while the sand underneath is loose, the polymer binder has broken down.
- Crumbling texture. At this stage the sand won’t hold together at all. You can scoop it out with a screwdriver. Joints are now open and the base is exposed to water.
- Weed establishment. Once joints are open, wind-blown seed lands in the sand and germinates. By the time you see weeds, the sand failure has been progressing for months.
The key insight most homeowners miss: weeds are the symptom, not the problem. Pulling weeds without re-sanding leaves an open joint that will grow more weeds within weeks. In Orange, where irrigation keeps the edges of the driveway damp, this cycle happens faster than in drier inland cities.
Re-sanding a typical two-car driveway runs $300 to $700 for materials and labor depending on square footage and whether polymeric or standard sand is used. Catching it at the color-change stage lets you re-sand only the affected joints. Waiting until the whole surface is crumbling means a full re-sand, and sometimes a base repair underneath. If you’re seeing step three or four, that’s a job worth having a professional assess. Our driveway and pavers service in Orange includes a joint and base inspection as part of any estimate.
Choosing the Right Sealer by Paver Material
Sealer selection isn’t a preference. It’s a compatibility question, and the wrong product can trap moisture in the paver and cause spalling. Travertine, concrete, and clay brick each need a different approach. Here’s how they break down, with named products and rough material costs per square foot. Labor typically adds $1.50 to $3.00 per square foot on top of material.
- Concrete pavers (Belgard, Techo-Bloc, and similar): A penetrating siloxane sealer like TechniSeal or a film-forming acrylic like Surebond SB-800. Penetrating sealers are the safer default here because they leave the surface breathable. Material cost runs roughly $0.30 to $0.60 per square foot. Use a film-former only if you want a wet-look finish and the pavers are fully dry.
- Travertine pavers: A penetrating, solvent-based sealer formulated for natural stone, such as StoneTech Impregnator Pro. Never use a film-forming acrylic on travertine; it traps moisture in the stone’s natural voids and causes flaking. Material cost is higher, roughly $0.60 to $1.20 per square foot.
- Clay brick pavers: A breathable penetrating sealer or a matte natural-stone sealer. Brick moves more with temperature than concrete, so a flexible, vapor-permeable product matters. Material cost runs $0.40 to $0.90 per square foot.
Before sealing anything, do the water test. Pour a cup of water on the surface. If it beads and sits, the paver is already sealed or the surface is dirty. If it soaks in within a minute, the surface is ready. Sealer applied over a dirty or damp surface is the most common cause of cloudy, peeling finishes, and those cost more to strip than the original sealing job.
In Orange, the sealing window is late October through early December, and again in March or April if the rain holds off. Avoid sealing within 24 hours of rain and during Santa Ana wind events, when airborne dust will settle into the wet sealer.
Catching Heaved or Settled Sections
Pavers don’t fail all at once. They fail in a section, usually one or two square feet, and the cause is almost always one of two things in Orange: tree root intrusion or an irrigation leak under the base.
Tree roots are the more common culprit on lots with mature ficus, eucalyptus, or Chinese elm within ten feet of the driveway. Roots travel under the base layer looking for water, and as they thicken they lift pavers. You’ll see a section that sits visibly higher than its neighbors, with joints opening on the uphill side. An irrigation leak is subtler. A cracked drip line or a leaking valve saturates the base material, which then consolidates and drops. You’ll see a section sitting lower, often with a slight dip that holds water after rain.
Here’s when each is a DIY fix and when it isn’t:
- DIY territory: A single paver that’s lifted less than half an inch, with no visible water pooling and no root visible. You can lift the paver, re-level the bedding sand, and reset it in about 15 minutes.
- Call a professional: Any section larger than about two square feet, any movement that returns after a reset, or any settled area where water pools. These point to a base or drainage problem that resetting pavers won’t fix, and re-leveling over a failed base just delays the same failure.
The reset job itself is straightforward when the base is sound: lift the affected pavers, correct the bedding sand, re-set, and re-sand the joints. When the base is compromised, the fix involves removing the base material, correcting the subgrade, and rebuilding that section. Matching the replacement pavers to the existing ones is the part that trips people up, which is why the documentation practice in the next section matters.
Weed Prevention That Actually Works
Weeding is the least effective weed control there is. The effective approach works on the conditions that let weeds germinate, and in Orange those conditions are damp joints and open sand.
- Keep joints full and stabilized. Polymeric sand is the primary defense. Open joints are open invitations.
- Control irrigation overspray. Adjust heads so they don’t hit the pavers. This is a ten-minute fix with a screwdriver and it eliminates the moisture that weeds need at the driveway edge.
- Sweep regularly. Wind-blown seed and soil accumulate in joints. A monthly sweep during the dry season removes the growing medium before it becomes a problem.
- Pull weeds early and completely. A dandelion pulled at two inches tall comes out with its taproot. The same weed pulled after six months leaves root fragments that regenerate.
- Avoid salt and vinegar solutions on pavers. They work on weeds but can etch concrete pavers and damage the polymer binder in the joint sand. Use a targeted herbicide labeled for hardscape, or pull by hand.
The most common weed we see in Orange paver driveways is spotted spurge, a low-growing plant that thrives in hot, dry, compacted conditions and spreads fast in open joints. It’s a good indicator that your joint sand has failed somewhere along the edge of the driveway.
Drainage and Irrigation Overspray
Drainage is where Orange’s climate creates a specific problem. The city gets most of its rain in a concentrated window, so a driveway that handles a light drizzle fine can pond badly in a January storm. The fix is usually in the grading, not the pavers.
Check these three things after every significant rain:
- Does water flow toward the street, the yard, or a drain? It should flow somewhere. A flat driveway that ponds in the middle needs attention.
- Does water sit against the garage slab or the foundation? This is the highest-risk location. Standing water against the house is a moisture problem inside the walls, not just a driveway problem.
- Does any section of the driveway stay wet long after the rain stops? Persistent wet spots usually indicate a low point or a leak under the base.
Irrigation overspray is the other half. Pop-up heads along a driveway edge get knocked out of adjustment by mowers and foot traffic, and a head that sprays three feet onto the pavers keeps the joint sand and the base damp year-round. That constant moisture is what feeds weed germination and what breaks down polymeric sand prematurely. Walk your irrigation zones once a month during the watering season and watch for overspray onto hardscape. Adjust the head, or swap to a drip line along the driveway edge.
Keeping Records for Future Repairs
This section sounds boring and saves the most money over time. When a section of pavers needs repair, matching the replacement material requires knowing the manufacturer, the product line, and ideally the dye lot. Pavers fade with sun exposure, and a replacement paver from a different production run can be visibly different even in the same color name.
Here’s the documentation routine we recommend:
- Photograph the delivery slip or installation paperwork at the time of installation. It lists the paver brand, product name, and often the dye lot. Store the photo in the cloud, not just on your phone.
- Note the installation date and contractor in the same file. You’ll want it for warranty purposes.
- Keep two or three spare pavers stored under the house or in the garage. Nothing matches a repair like a paver from the original batch.
- Photograph the driveway annually from the same two or three angles so you can compare condition year over year.
If you don’t have this documentation, start now. Find the brand name on the pavers themselves or in any paperwork you can locate, photograph what you have, and keep the spare paver from the next repair. Brands like Belgard and Techo-Bloc have product lines that stay in production for years, which makes matching easier if you know the product name. Our Rowan Construction Group Orange home page has a section on how we document projects, and every Rowan visit includes a photo record as a standard deliverable.
Common Mistakes to Avoid
- Pressure-washing at high pressure. It strips the joint sand and can pit concrete pavers. If you’re not resealing, a leaf blower and a stiff broom handle most cleaning in Orange.
- Sealing over a dirty or damp surface. The sealer will peel within a season, and stripping it costs more than the original job. Clean, dry, and test before you seal.
- Pulling weeds without re-sanding. Open joints regrow weeds within weeks. Fix the joint before you fix the weed.
- Using the wrong sealer for the paver material. A film-forming acrylic on travertine traps moisture and causes flaking. Match the product to the stone, every time.
- Ignoring irrigation overspray. A head spraying onto the driveway keeps joint sand damp year-round, which is the leading cause of premature polymeric sand failure in Orange.
- Skipping the post-rain inspection. Orange’s rainy season is short and concentrated. A ten-minute walk after each storm catches movement before it becomes a reset job.
- Throwing away spare pavers. When a section needs repair years later, a spare paver from the original batch is worth more than its purchase price in matching hassle saved.
See the difference
 Before
 After
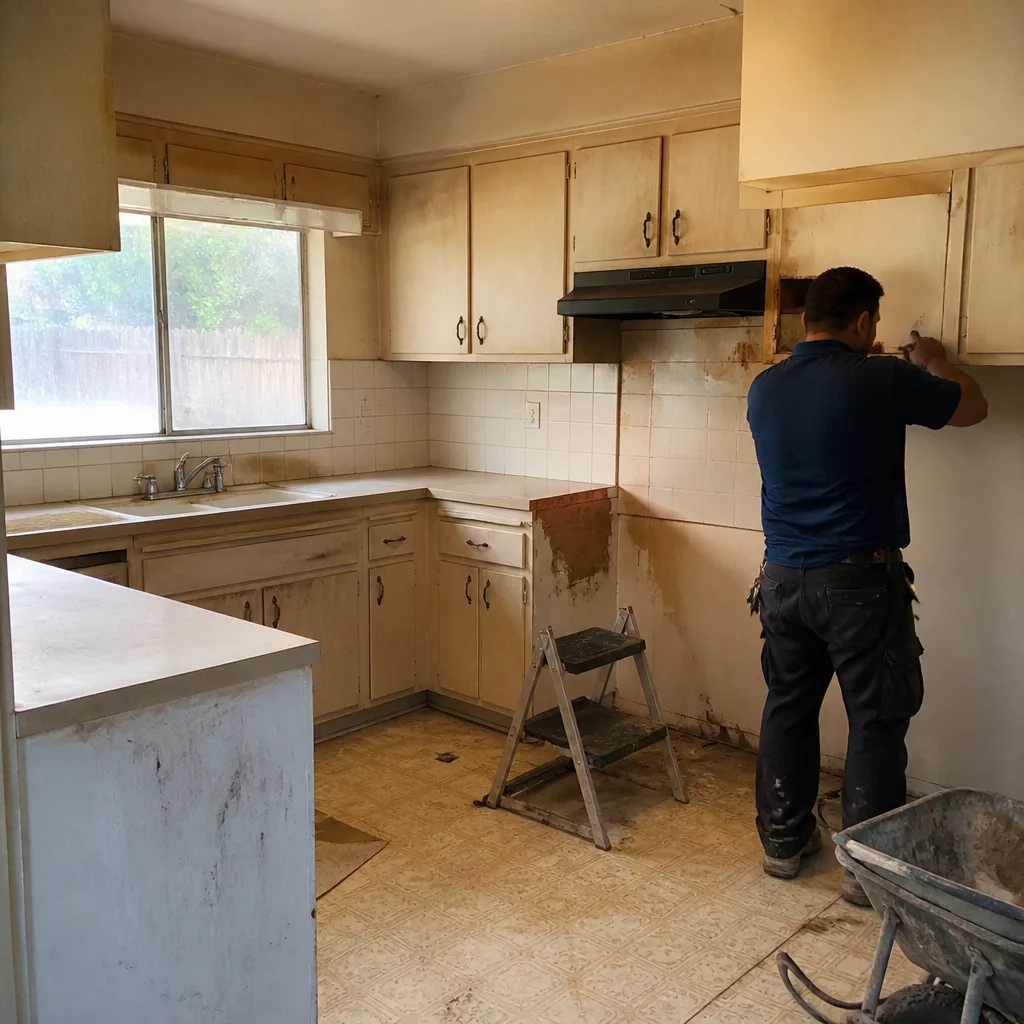 Before
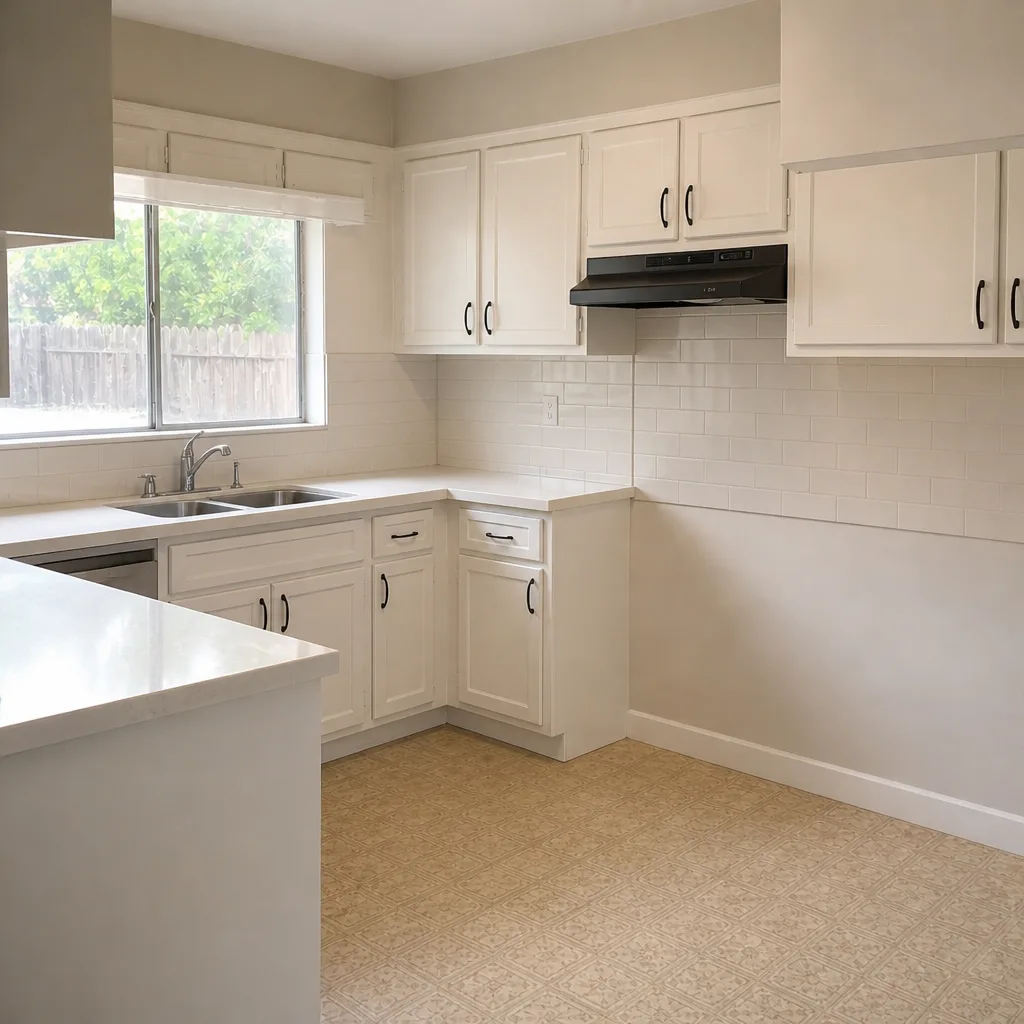 After
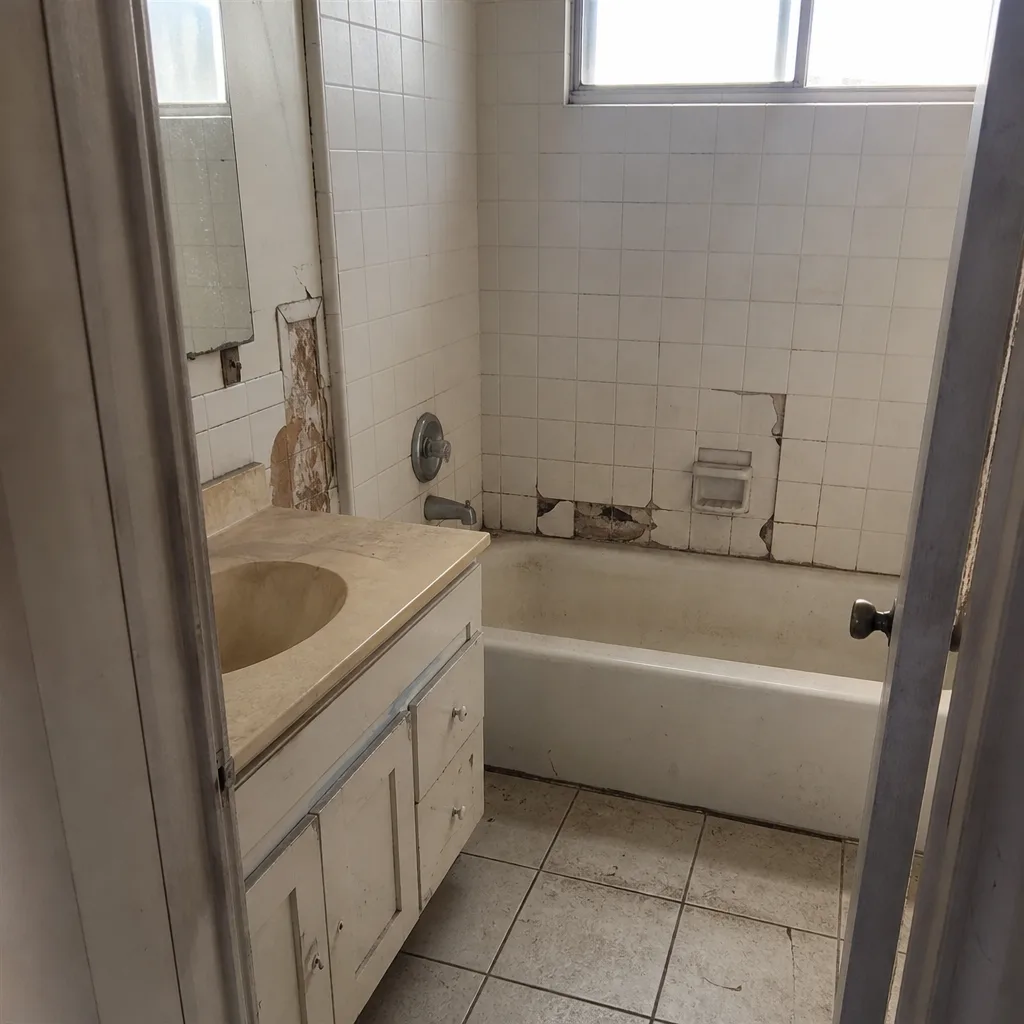 Before
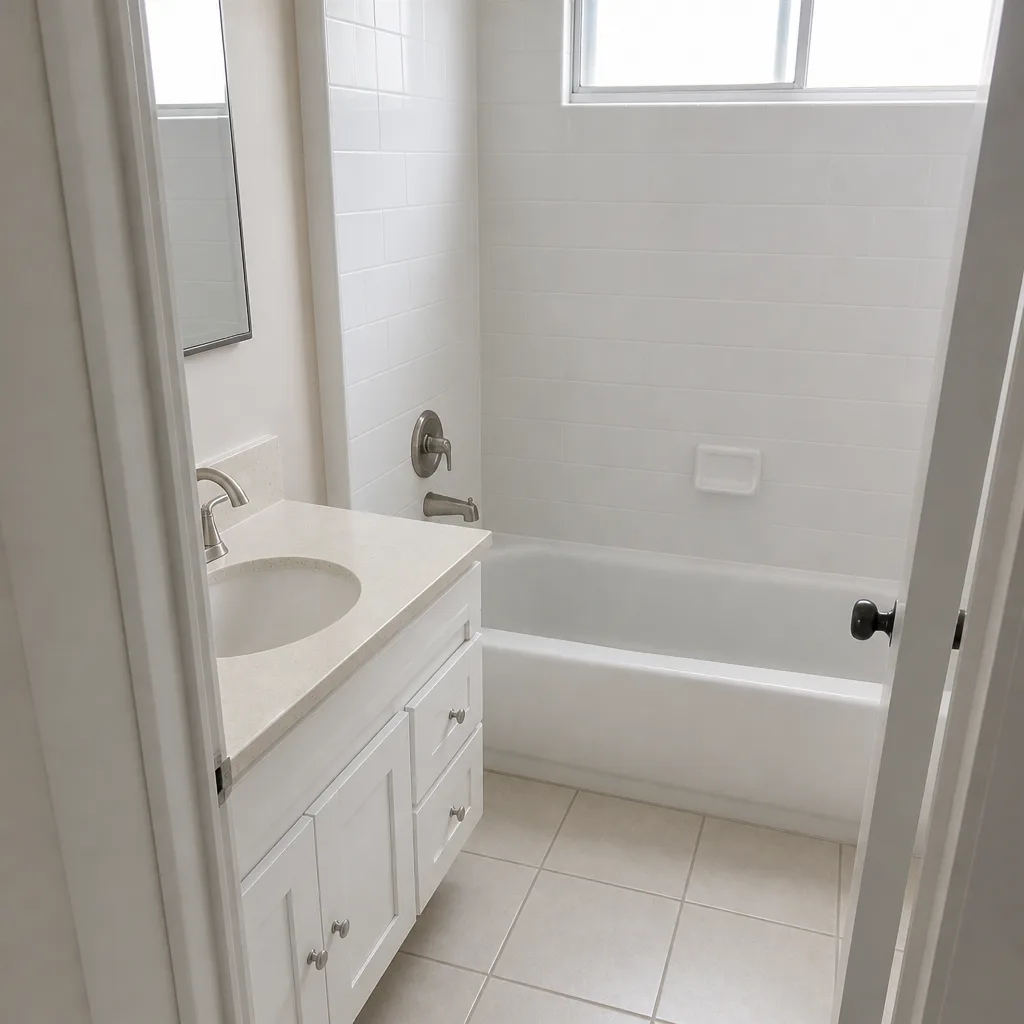 After
When to Call a Professional
Most of this checklist is homeowner work. But specific situations call for a trained crew, and trying to handle them yourself usually costs more than the original repair. Call a professional when a section of pavers has moved more than half an inch, when movement returns after a reset, when water pools against the garage slab or foundation, when the base is visibly compromised, or when you’re resealing a travertine or clay brick surface for the first time and want to avoid a product mismatch.
Fence posts, retaining walls, and the transition where a driveway meets a fence or a home addition are also worth a professional look, because movement there points to a foundation or grading issue rather than a paver issue. If you’re planning any of that work, our fence installation in Orange and home additions and ADU page cover the structural side.
Rowan Construction Group Orange offers free estimates in Orange. Every estimate comes with a written price before any work starts, a written scope, and a written warranty. If you already have a written quote from another contractor, we’ll review it line by line at no charge through our Free Second Opinion. Call (844) 320-7508 to schedule your free estimate.
Frequently Asked Questions
Re-sand paver joints every two to three years in Orange, or sooner if you see the color change and crumbling texture that signal polymeric sand failure. The rainy season washes sand out of joints, and the irrigation overspray common along driveway edges keeps the remaining sand damp and less stable. If you catch the failure early, you can re-sand only the affected joints, which costs a fraction of a full re-sand. Call (844) 320-7508 for an exact quote on re-sanding your driveway.
Use a penetrating, solvent-based impregnator formulated for natural stone, such as StoneTech Impregnator Pro. Never use a film-forming acrylic sealer on travertine: it traps moisture in the stone’s natural voids and causes flaking. Seal travertine in late October or early November, after the summer heat has passed and before the rain arrives, and make sure the surface is fully dry before applying. Call (844) 320-7508 for a free estimate on professional sealing.
Weeds keep returning because the joint sand has failed, not because the weeds are stubborn. Open joints hold wind-blown seed and moisture, which is exactly what spotted spurge and similar weeds need to germinate. Pull the weeds completely, then re-sand the joints with polymeric sand and adjust any irrigation heads that spray onto the driveway. That combination fixes the conditions rather than the symptom. Call (844) 320-7508 to have the joints and base inspected.
Re-sanding a typical two-car driveway in Orange runs $300 to $700. Sealing adds roughly $1.50 to $3.00 per square foot for labor on top of material cost, which is $0.30 to $1.20 per square foot depending on the paver material. A full re-sand and seal on a 400-square-foot driveway is commonly in the $900 to $1,800 range. Call (844) 320-7508 for an exact quote; estimates are free and the price is written before work starts.
In Orange, the two most common causes are tree root intrusion and an irrigation leak under the base. Roots from ficus, eucalyptus, or Chinese elm within about ten feet of the driveway lift the pavers as they thicken. A cracked drip line or leaking valve saturates the base material, which consolidates and drops. Both point to a base problem, so resetting the pavers over a failed base just delays the same failure. Call (844) 320-7508 for a free estimate on the repair.
Paver repair and re-sanding typically don’t require a permit, but replacing a driveway or changing the grading, drainage, or connection to the street can trigger city review. Requirements vary by scope, so it’s worth confirming before any major work starts. The local professional we connect you with is licensed and insured as the state requires and can tell you exactly what your project needs. Call (844) 320-7508 for a free estimate.
The Bottom Line
Paver maintenance in Orange comes down to two variables: thermal cycling from 90°F summer days and irrigation overspray that keeps joints damp. Control those and your driveway goes eight to ten years before major work. Skip them and you’re re-sanding within four. Follow the seasonal calendar, keep joint sand full and stabilized, match your sealer to your paver material, inspect after every rain, and keep the installation paperwork and spare pavers on file. Two hours a year is the difference. Rowan Construction Group Orange backs every job with the 365-Day Done Right Promise and a written price before any work starts, and our technicians have up to 19 years of experience.
Ready to stop guessing? Call (844) 320-7508 for a free estimate on maintenance, repair, or a full paver installation in Orange.
Written by the team at Rowan Construction Group Orange.